
2021 KTM 890 Adventure R Build
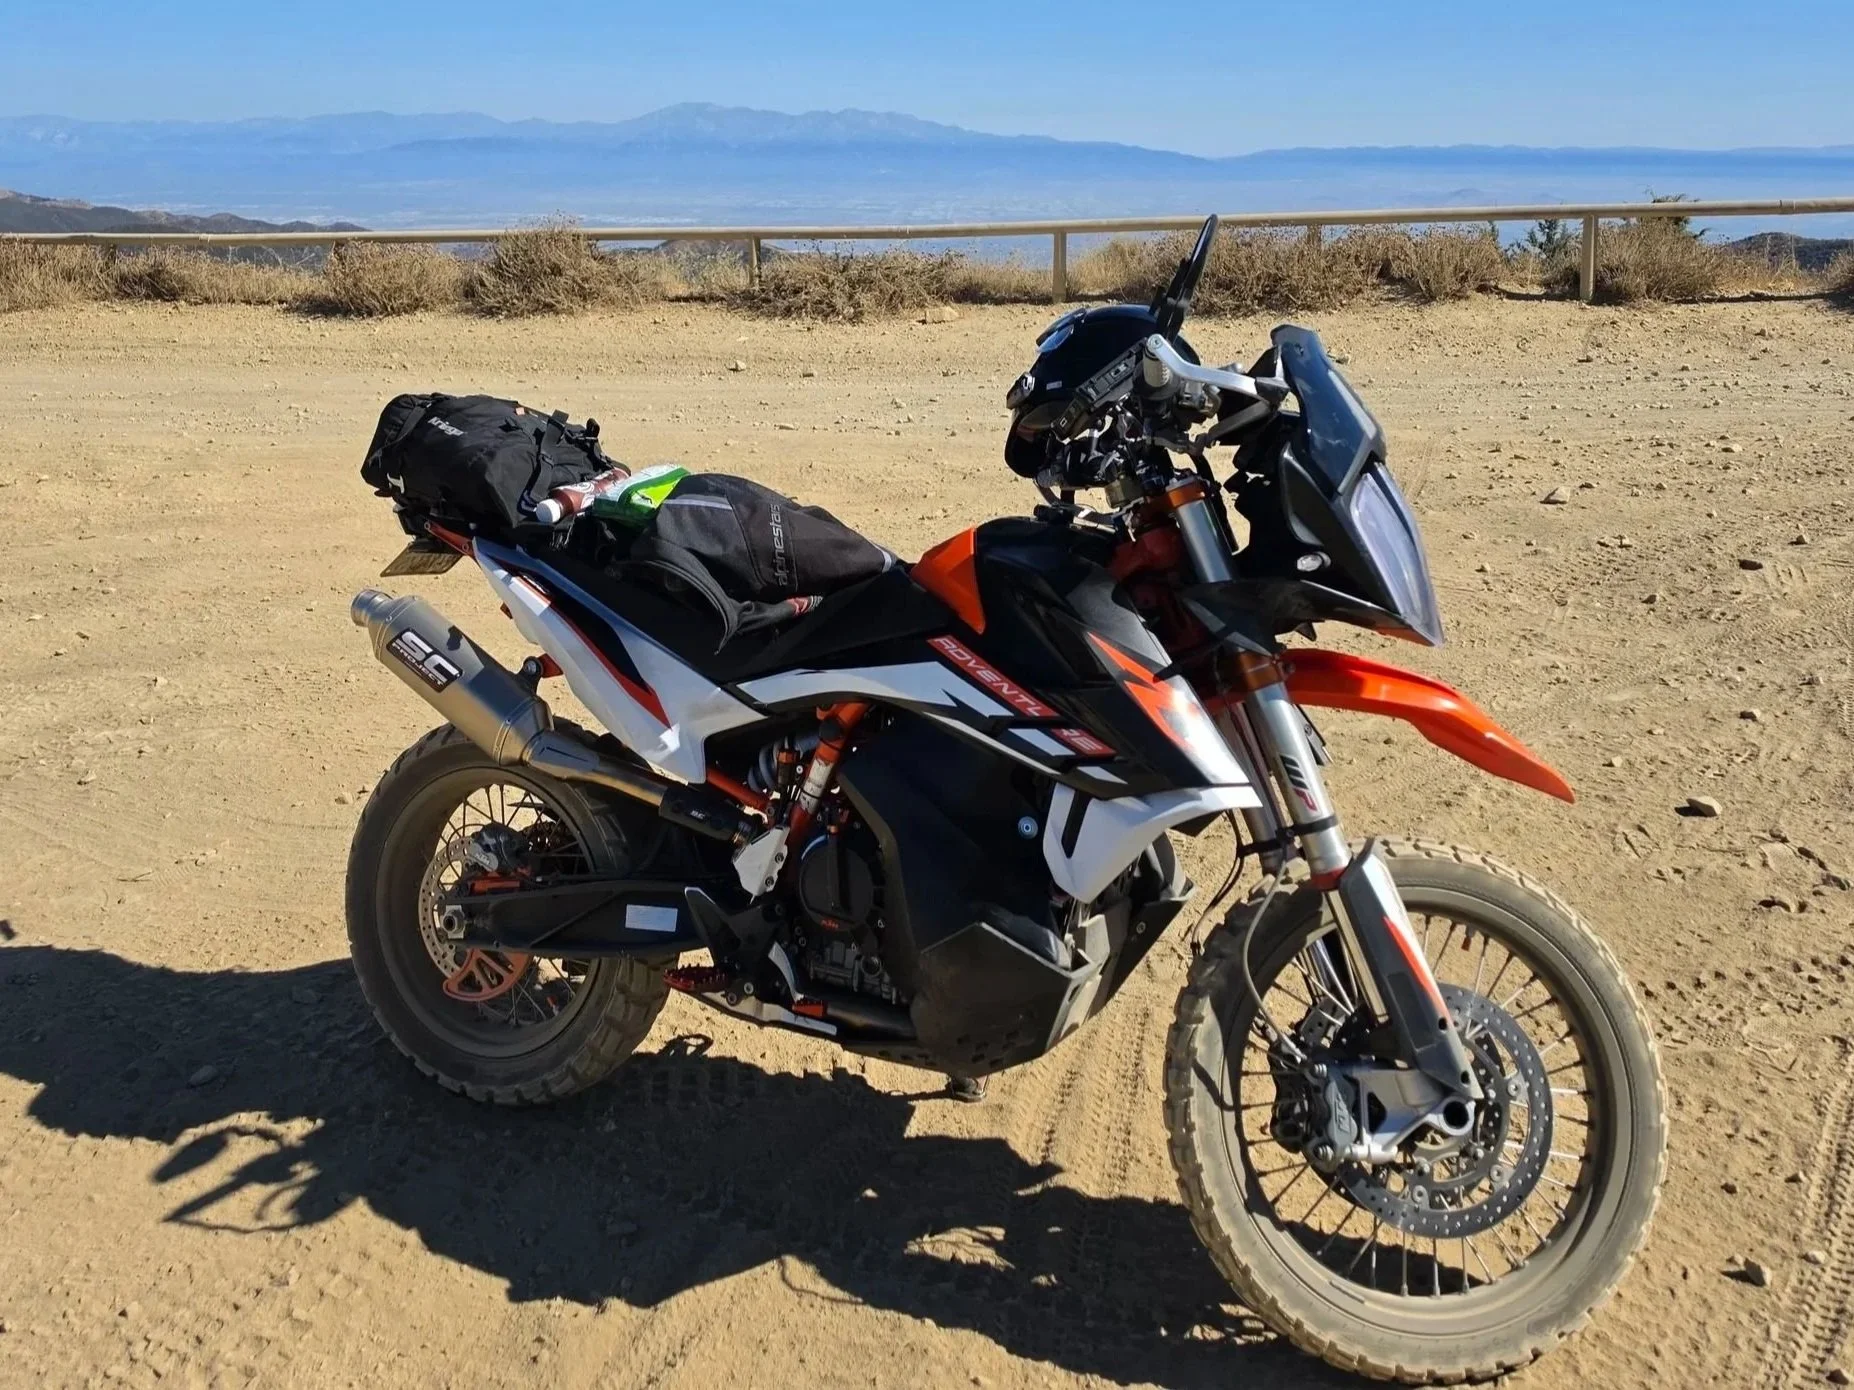
Goals
I wanted to set the bike up for BDR’s, touring and moto camping. The setup needed to be comfortable, protected and perhaps most importantly reliable. I still have more that I would like to do to the bike and I will continue to update the blog as I add more parts, but I wanted to get this out there as it hopefully is beneficial to some when trying to figure out how to set up their 790/890/901.
Handlebars
After a couple weeks of having the bike I found the sweep of the handlebars too be a bit too aggressive when riding offroad. I also knew that the stock handlebars would likely bend in the event of a drop and didn’t want to deal with riding potentially a long distance with bent bars. The Pro Taper Husqvarna Stock bend handlebars were an attractive option due to being significantly stronger than stock with a flatter, lower-profile bend with less sweep. This switch significantly helped improve comfort in all situations, but also improved control in slow, technical terrain. This bend paired with the BRP Submount kit that provides a 1” rise was the sweet spot for me (6’1” height). The other popular bend that is worth checking out is the Pro Taper EVO Adventure, but that does provide more rise so bear that in mind if you already have a riser or plan to. Despite a few low speed drops these bars haven’t bent which gives great piece of mind for more desolate solo riding trips.
Throttle Tube & Grips
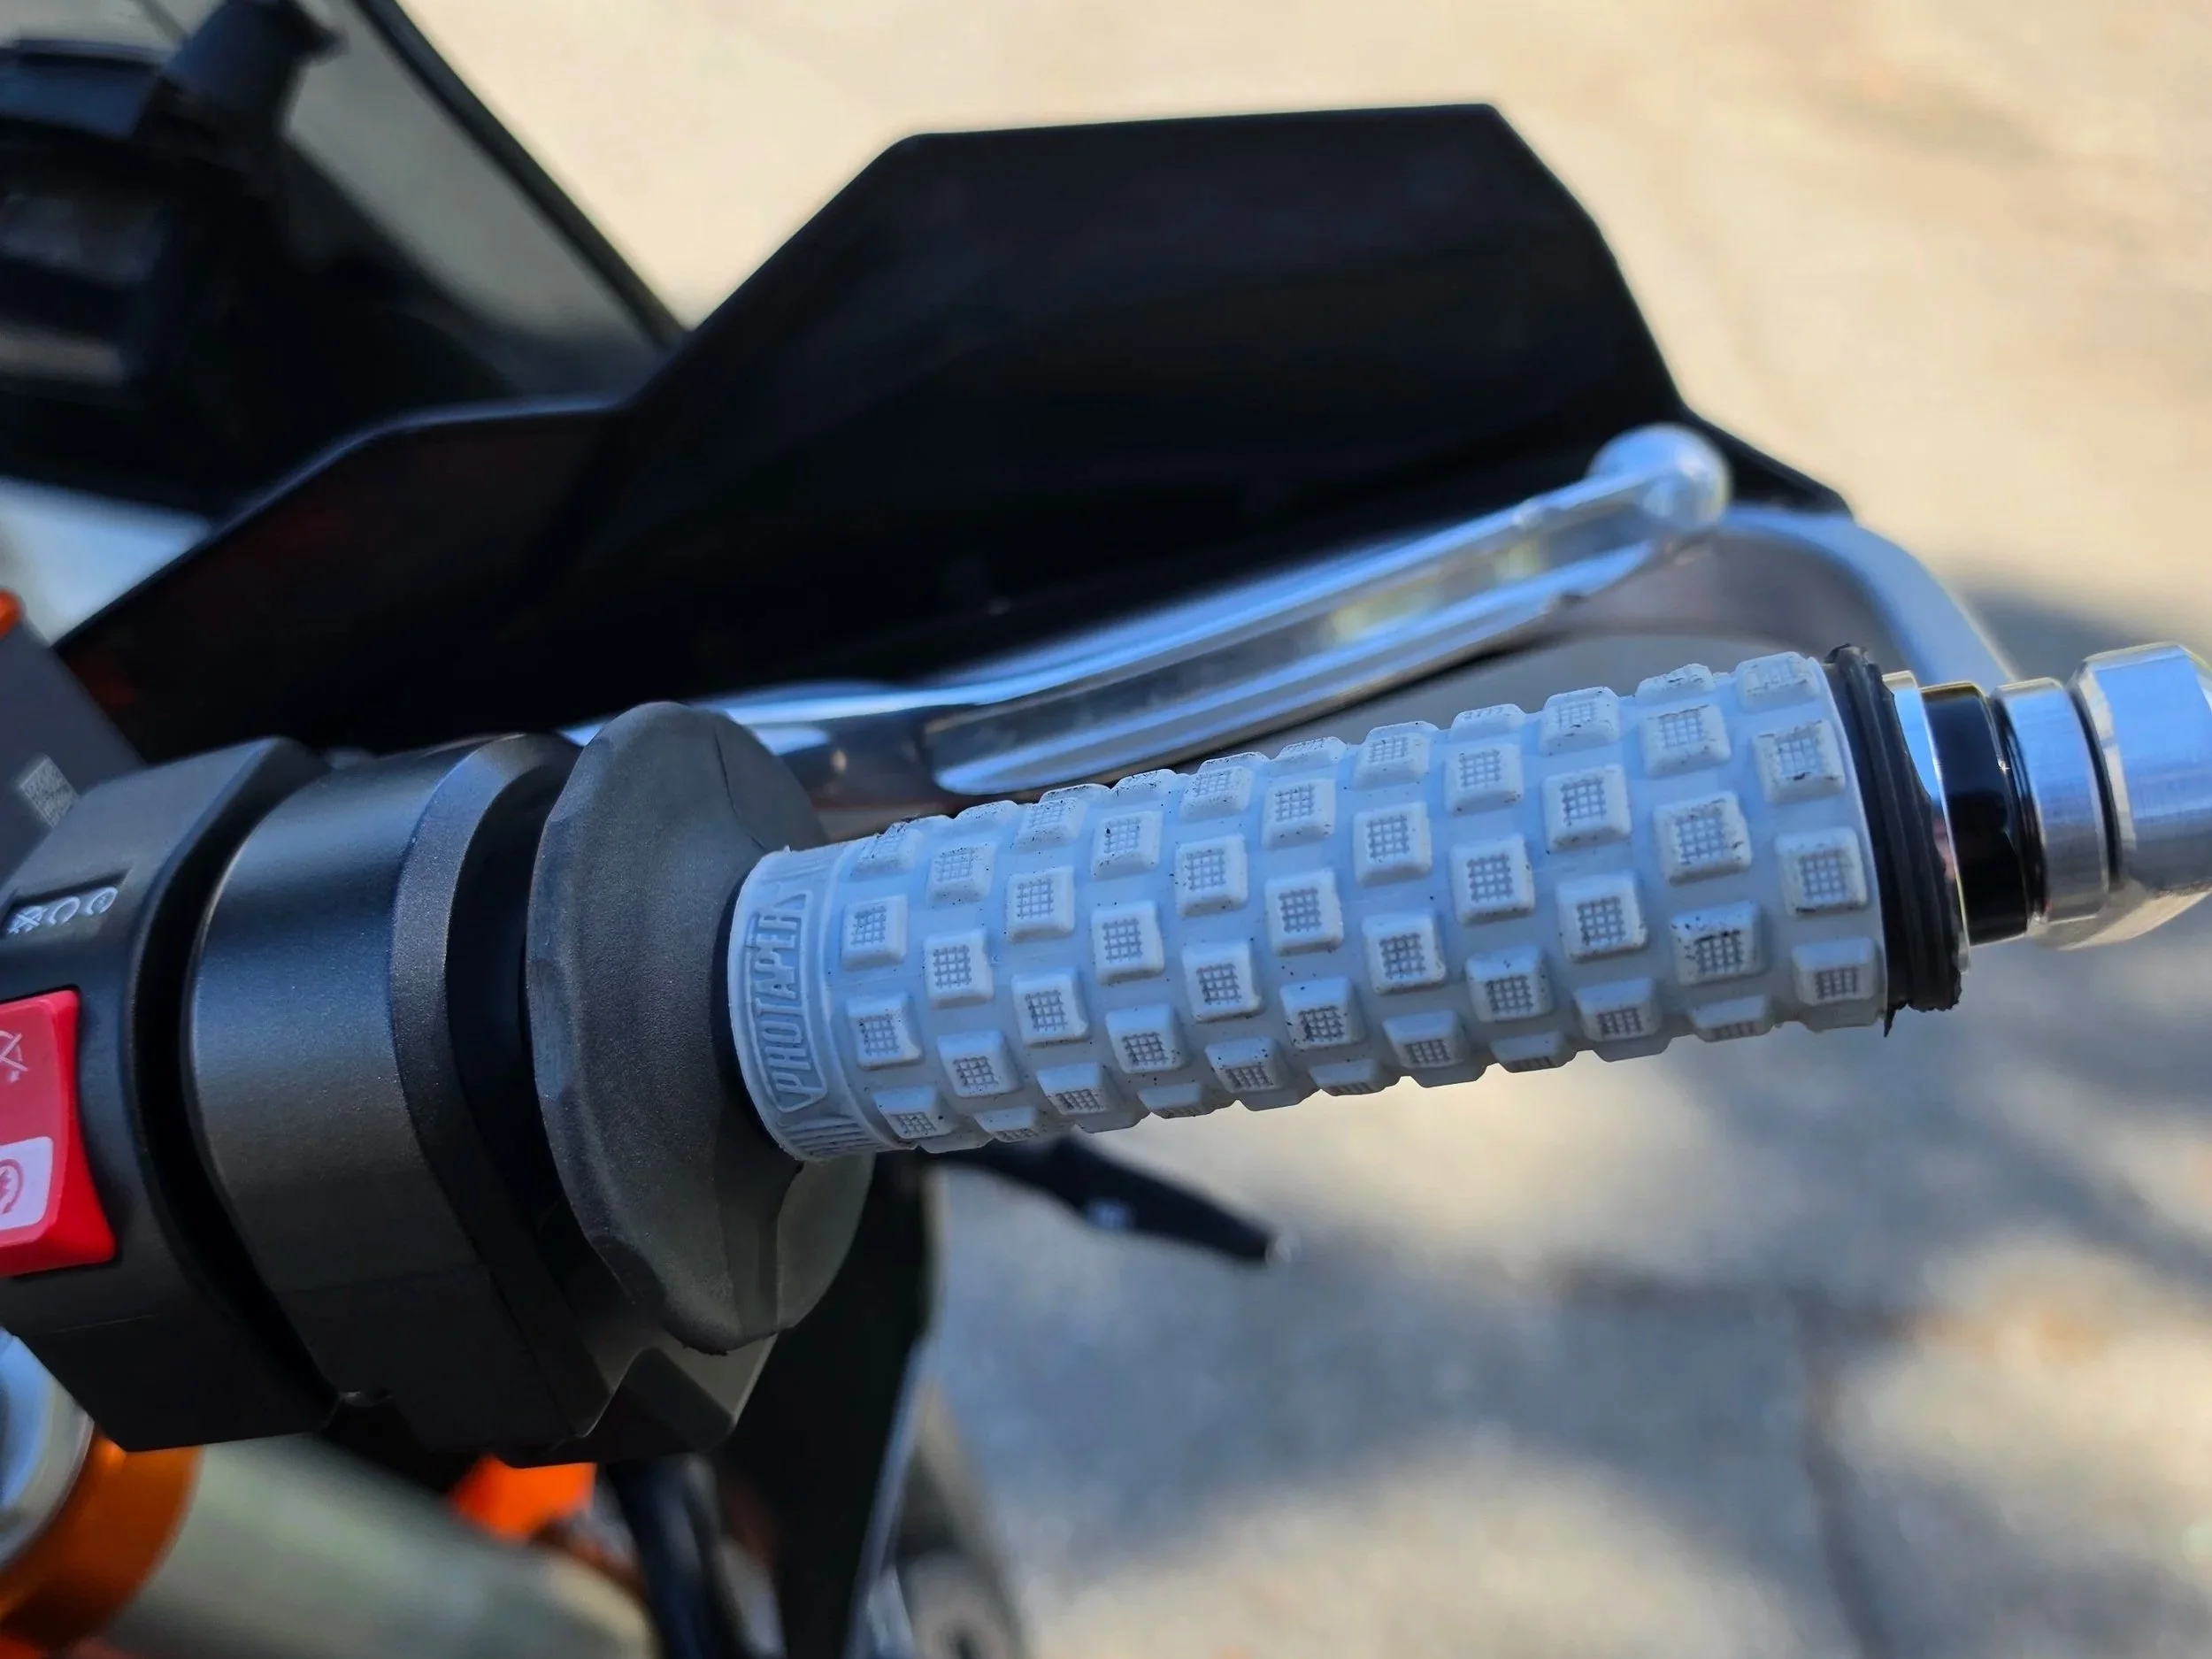
When I got this bike it had factory heated grips installed, but they were worn and I didn’t have much use for heated grips being in Southern California. The stock throttle tube isn’t compatible with aftermarket grips so the best option in my opinion is to upgrade to the G2 Ergonmoics Throttle tube and pair that with your favorite grips. The throttle tube is very high quality, does help smooth throttle transitions and the grips went on easy. I went with Pro Taper Pillow Tops, but there are about 100+ different options out there so pick what suites you.
Handguards
The stock handguards will do the trick for light riding, but they’re a bit flimsy so after a couple of drops on my first offroad ride with the bike I knew I needed to get something with metal wrap arounds. I opted for the KTM Powerparts ones as as I liked the metal wrap around style, replaceable guards and computability with aftermarket levers and handlebars. The wind coverage is good and they haven’t bent or needed adjusting despite a few low speed drops offroad. It’s good to know if/when I need replacements they are easily found at local dealers so good peace of mind.
Foot pegs & Foot Controls
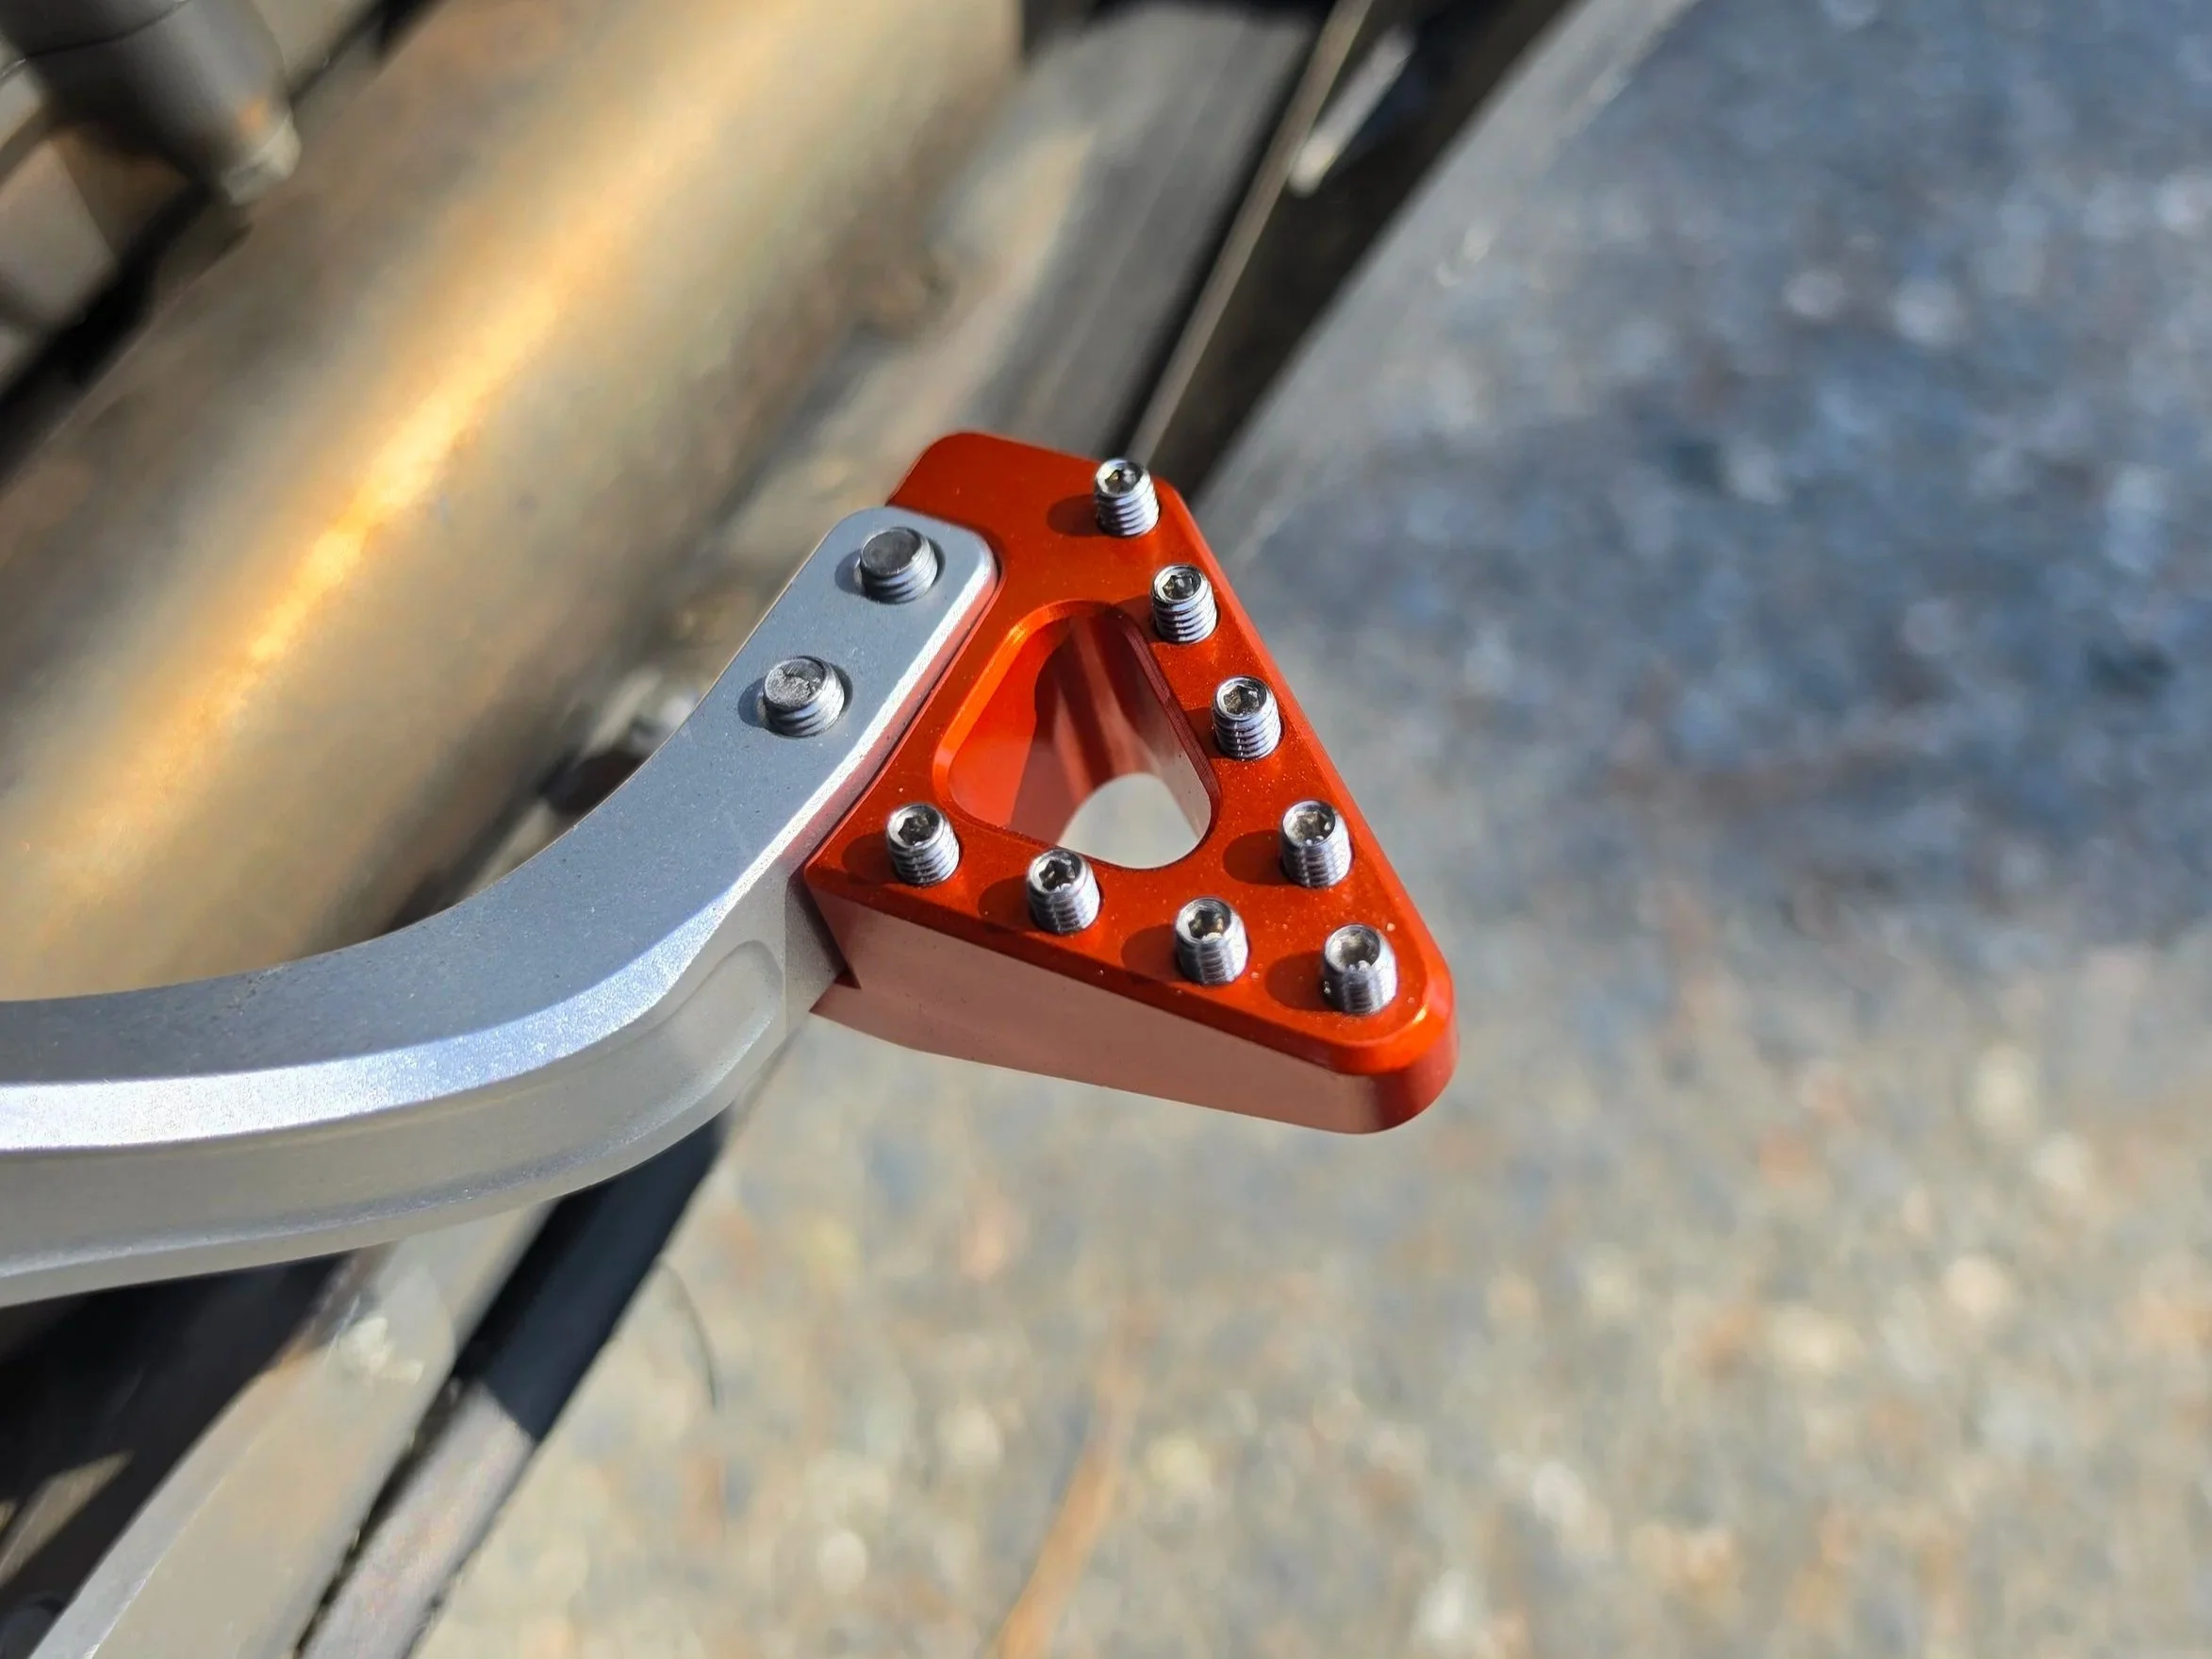
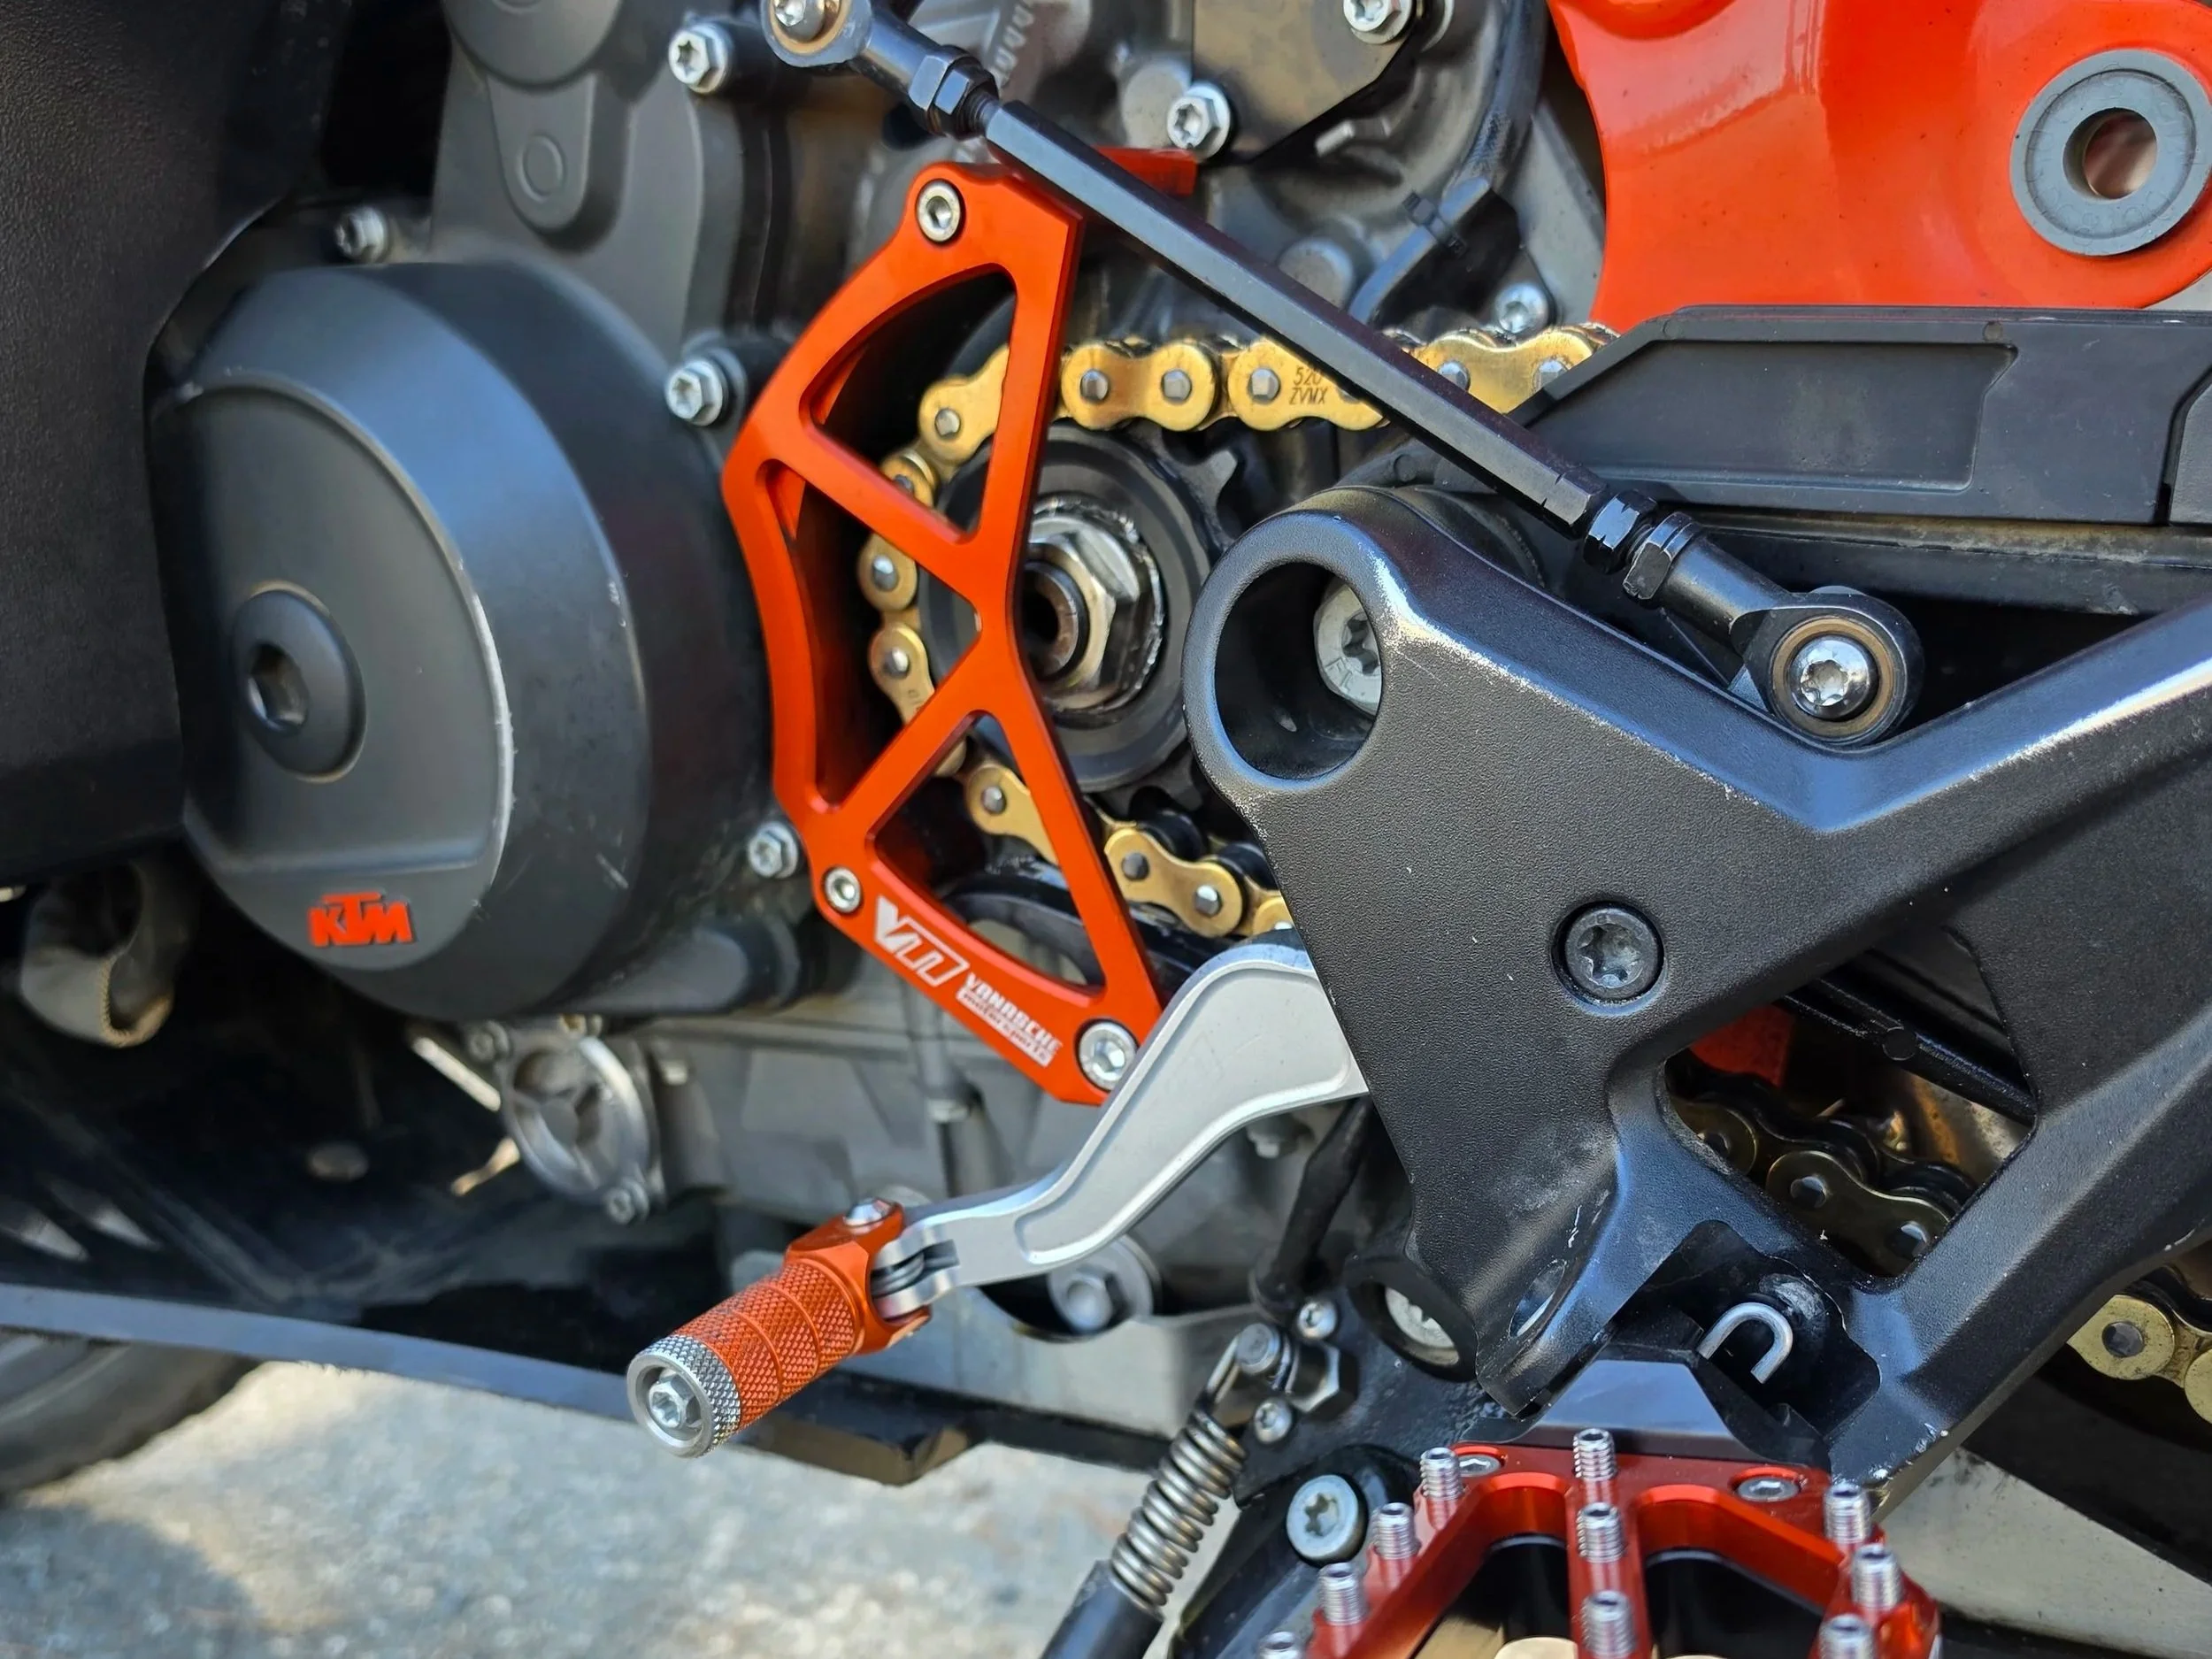
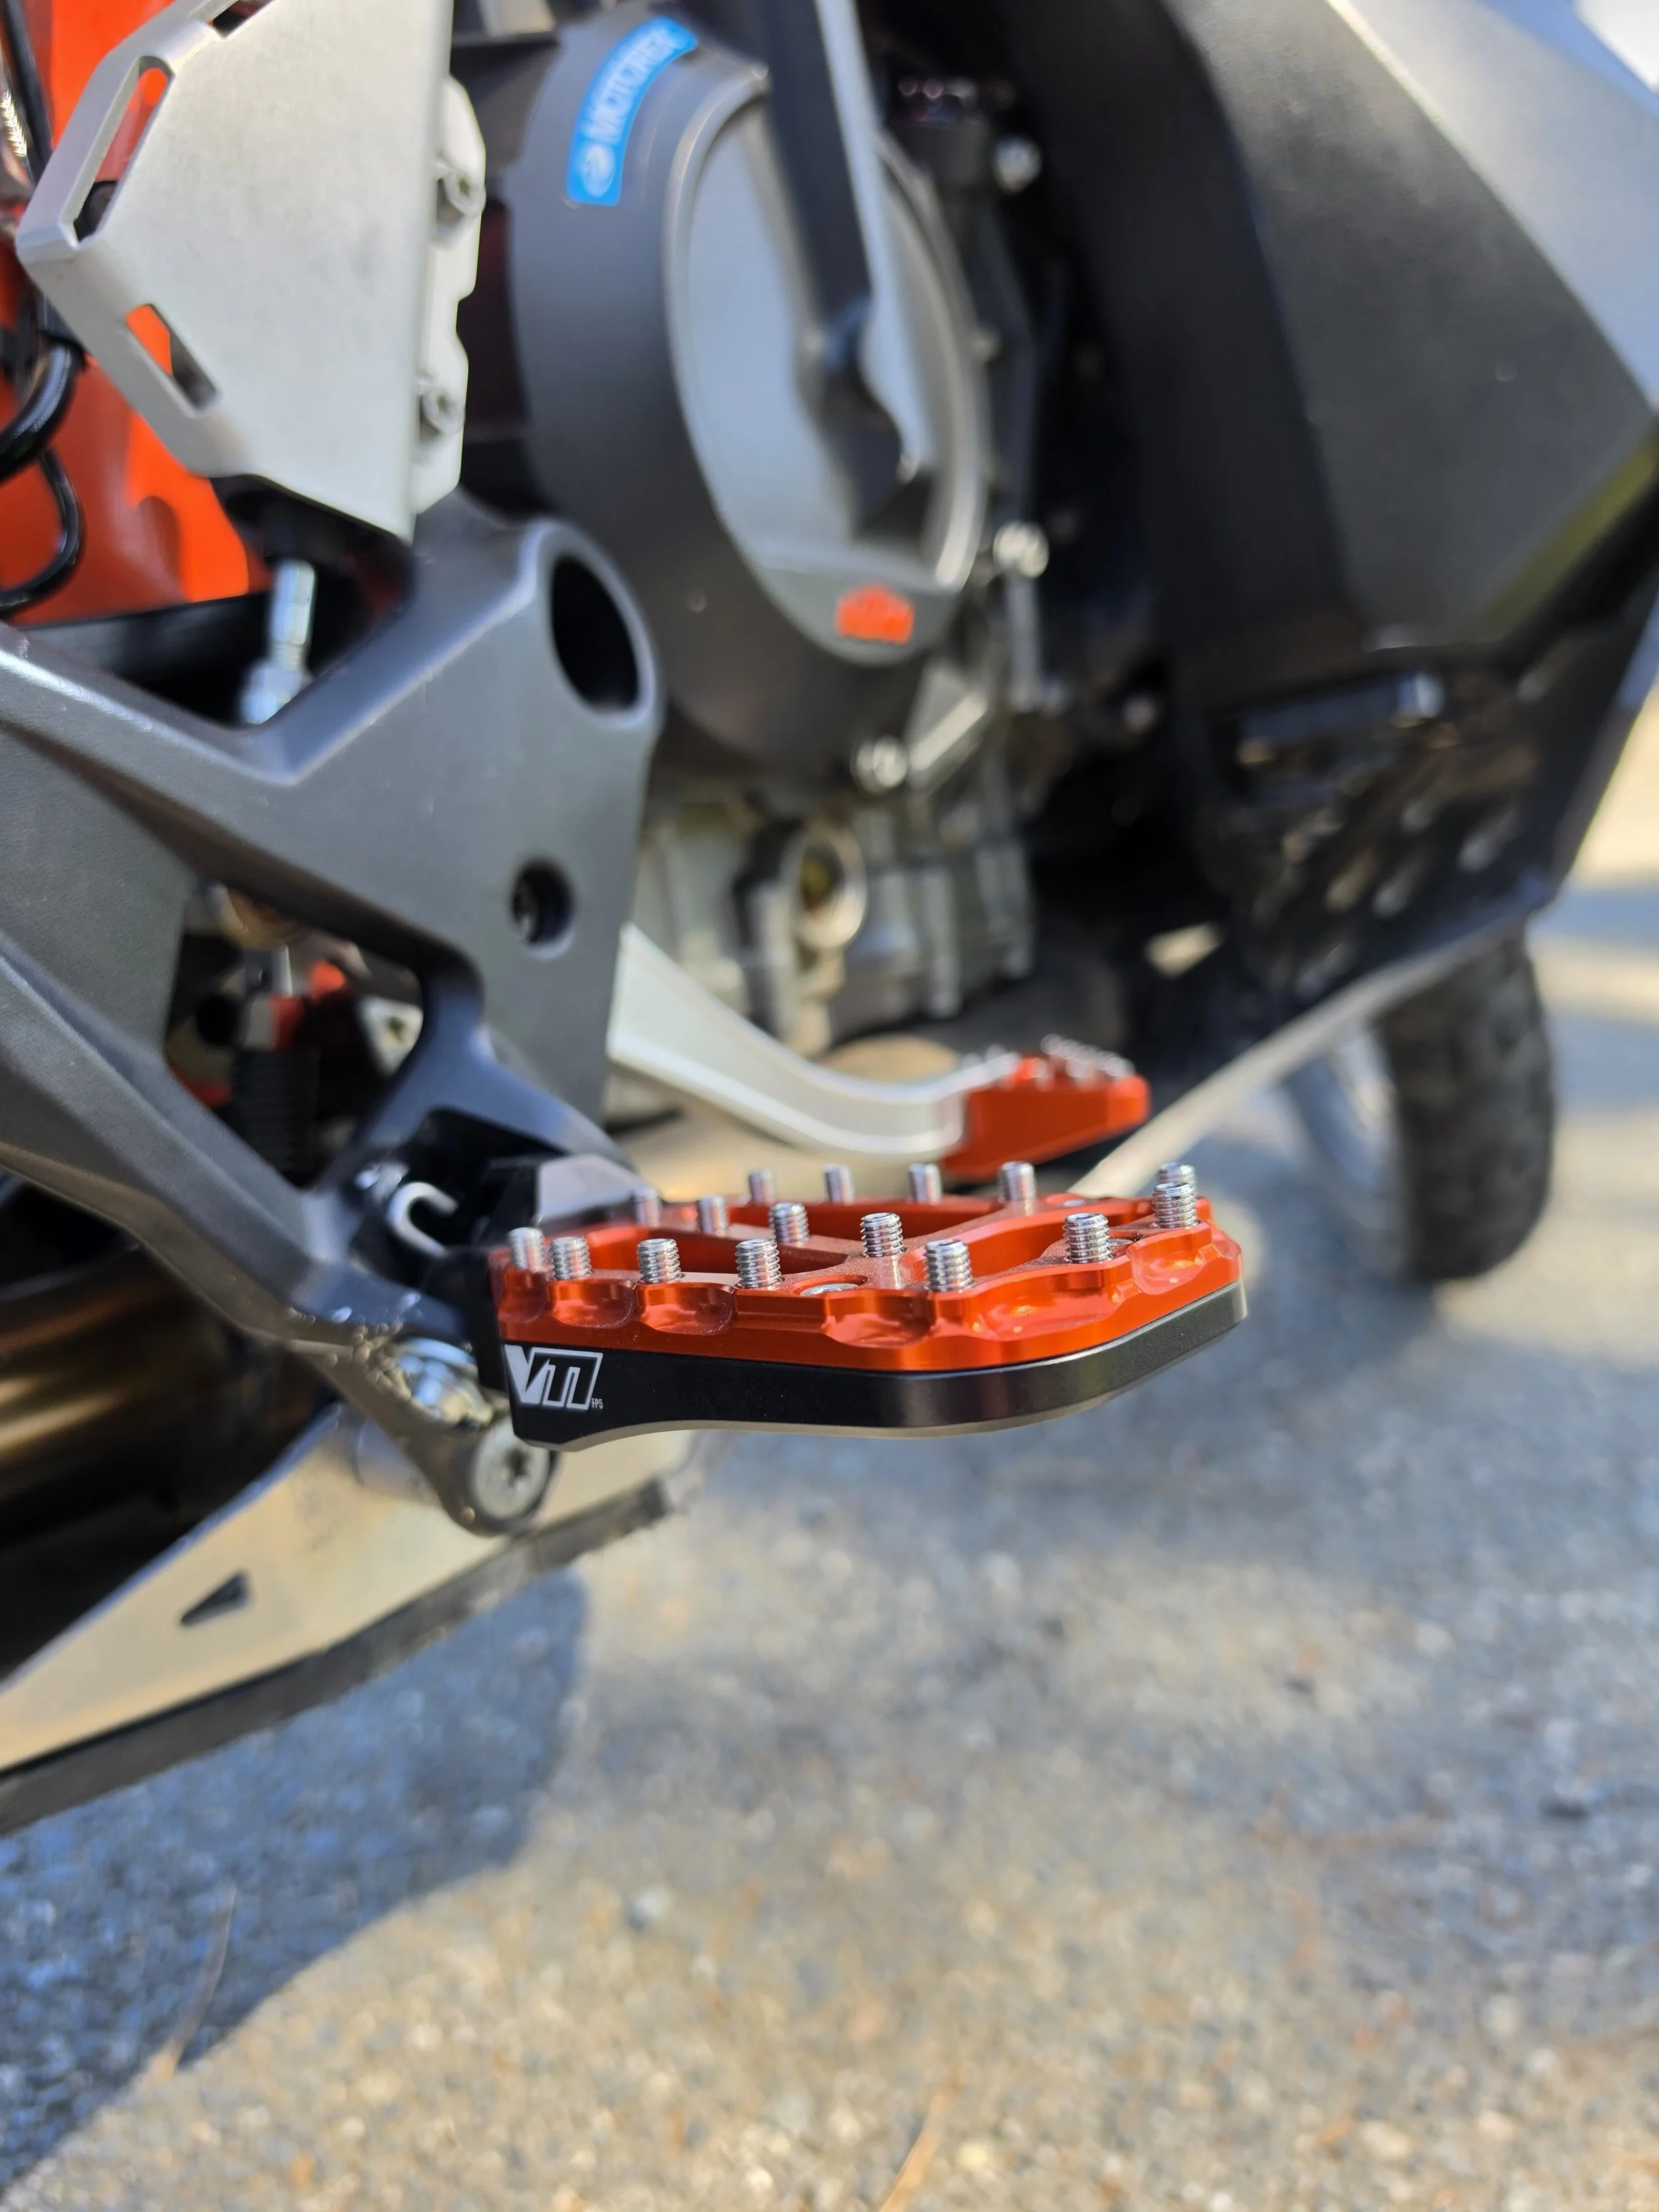
One of the first things I realized was that I wanted more room on the bike with the foot controls, especially when wearing MX boots - in my case Alpinestar Tech 7 Enduro’s. In my search to find the perfect foot pegs, I wanted comfort, but I also wanted traction offroad without destroying my soles as I would be taking the bike for quick rides where I wouldn’t be wearing full MX boots. I came to find that the best solution for my needs was the Vanasche Motorsports footpegs which are positioned 3/4” lower and 1/4” rearward, paired with their matching shift and rear brake levers for optimal fitment. The new position of the foot pegs and the two holes on the shift lever giving extra adjustability is a welcome improvement in comfort in the knees. This also improved the ease and accuracy of shifting with MX boots on. So far the set screws have given perfect offroad traction with my boots and haven’t been noticeably wearing down my street riding shoes so I couldn’t be happier with both of those goals being met in terms of traction. Knowing that the levers and foot pegs are machined from 7075 aluminum alloy that is TWICE the strength of 6061 gives the peace of mind that they aren’t going to break in the event of the inevitable tip over, which admittedly has happened a handful of times since writing this post. I paired the VM rear brake pedal with the VM P2 brake pedal pad which is slightly oversized and sits about 9mm lower compared to the stock. Also utilizing set screws and provides no shortage of grip. The extra set screws being included was a nice touch as well, very happy with these.
Clutch
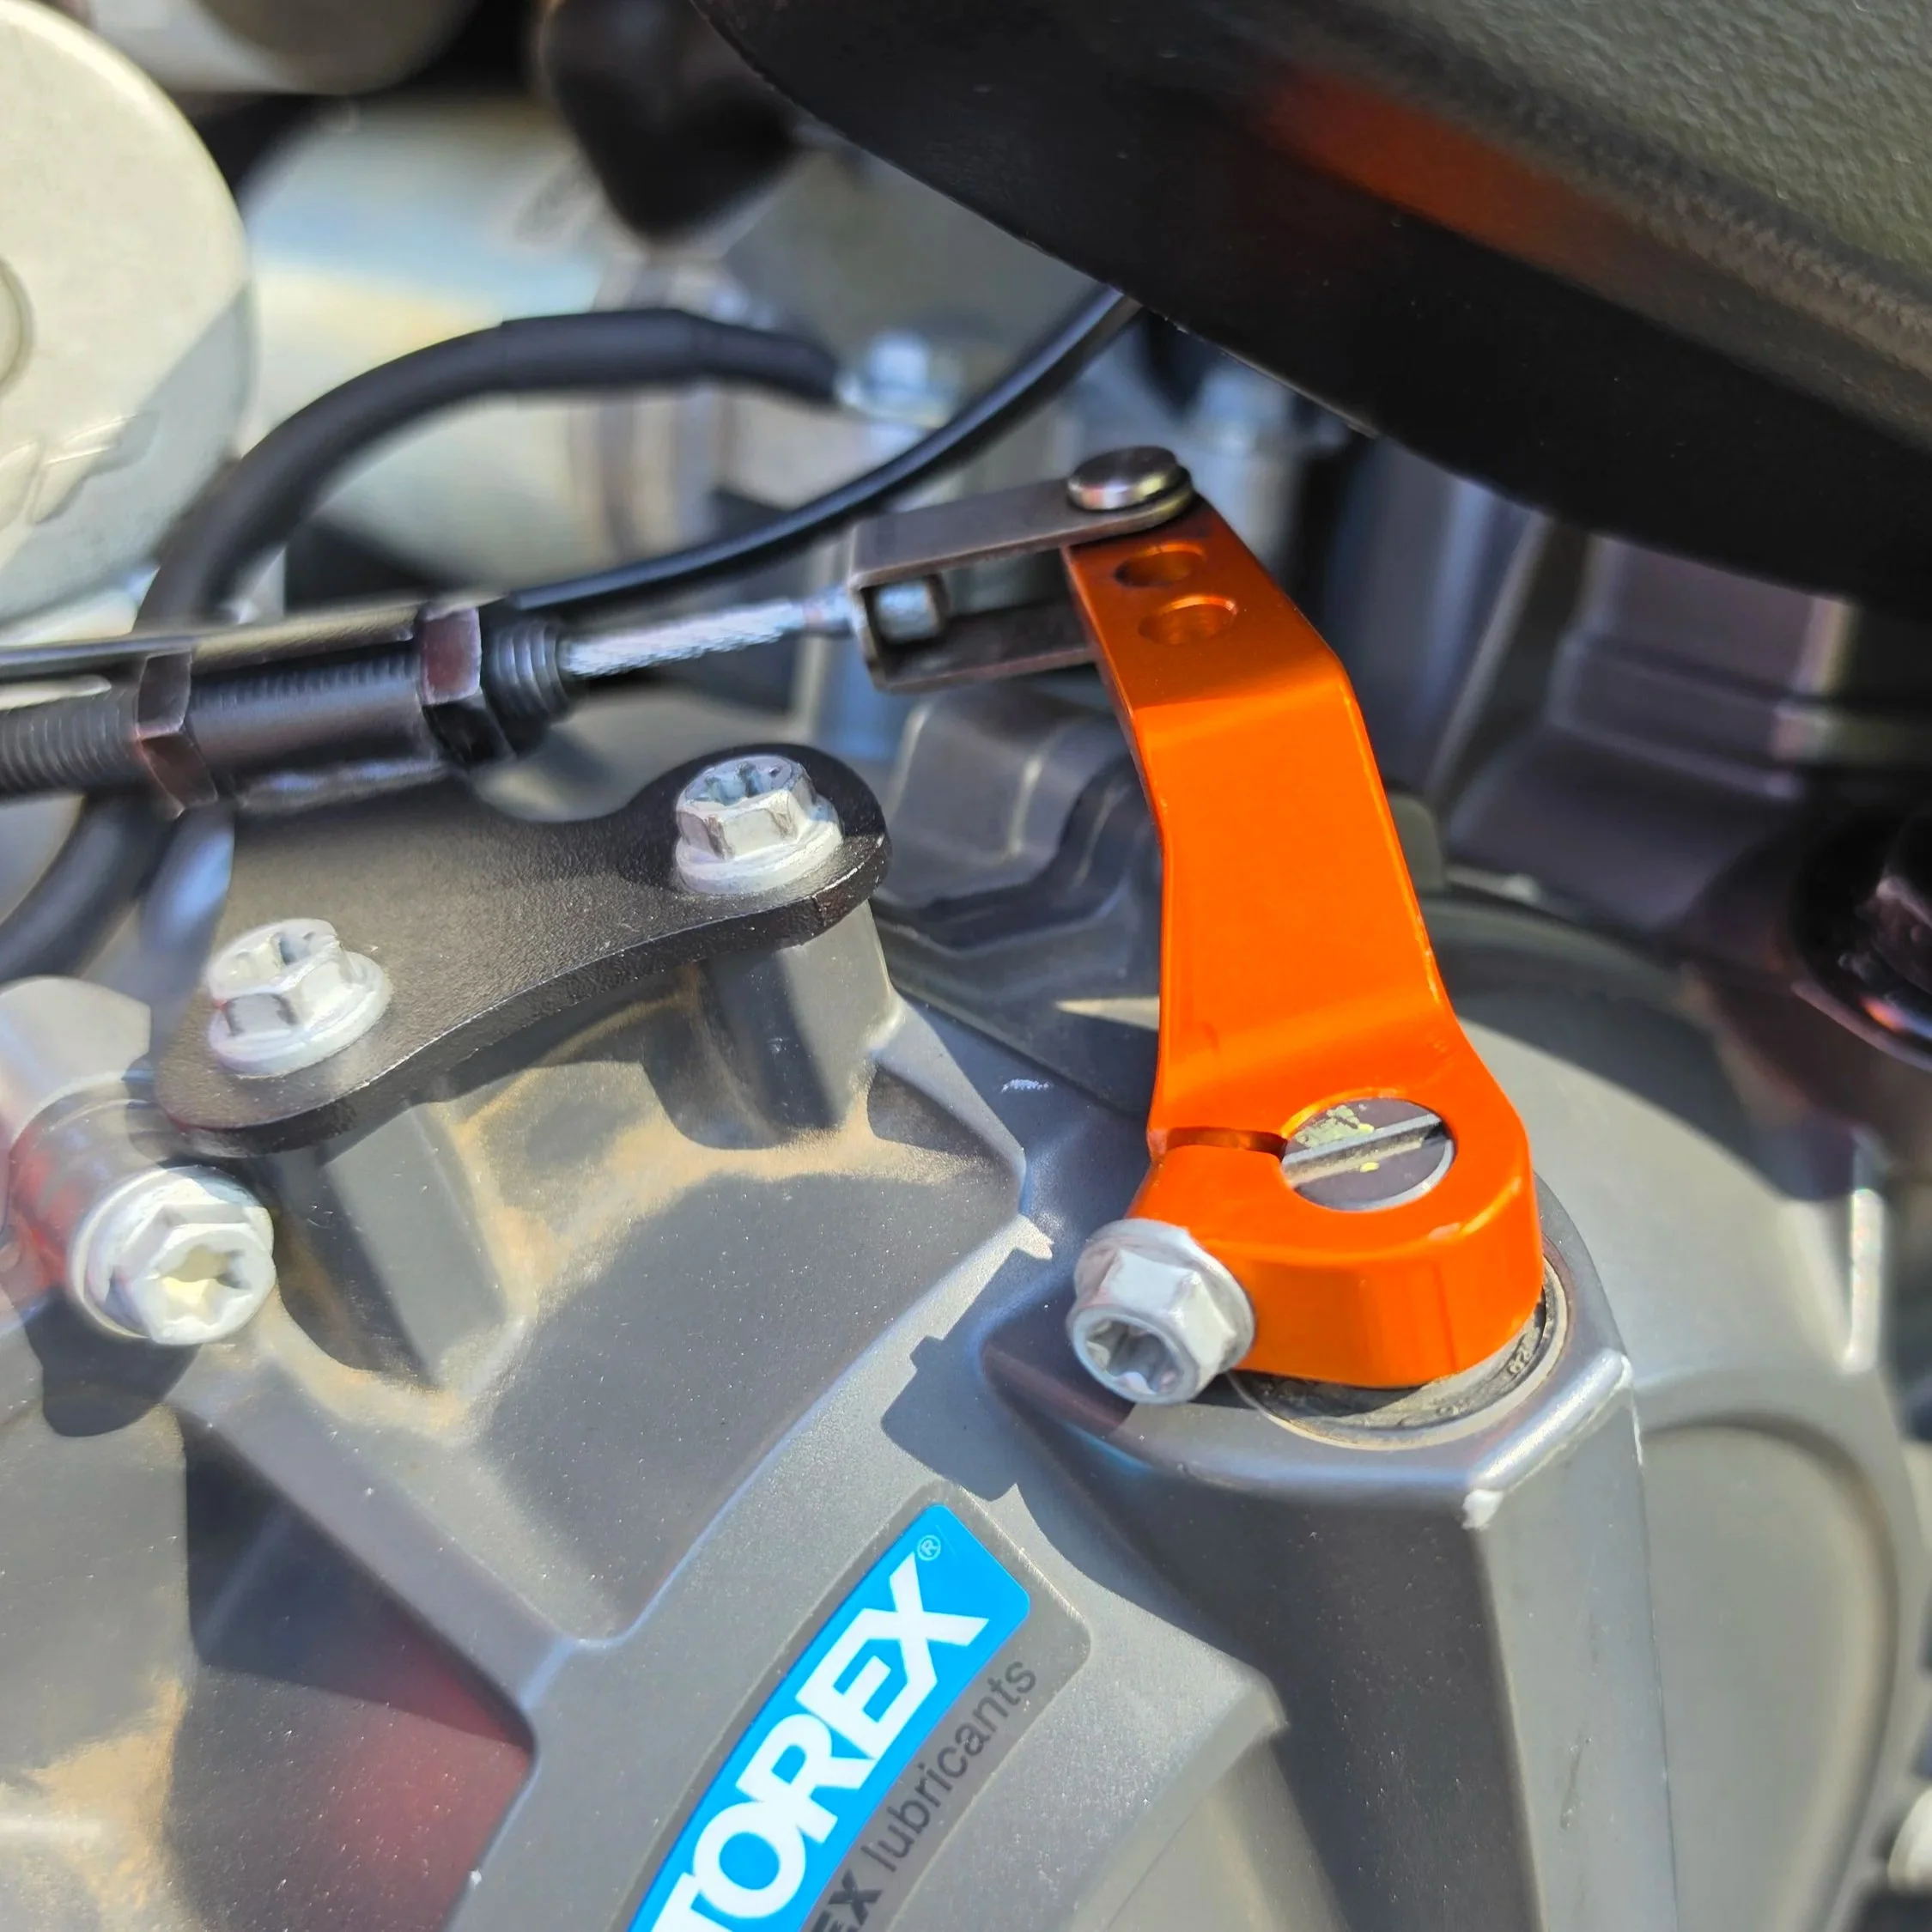
One of the most affordable and immediate upgrades that I recommend is the Camel ADV One Finger Clutch kit as it significantly decreases the amount of pressure needed to pull in the clutch lever. This is most appreciated on long rides offroad in slow/technical terrain, but certainly a ‘must-do’ in my opinion. While we’ve seen cheap knockoffs of the product from other vendors online, considering the importance of the piece I definitely recommend getting the original.
After 9k miles the stock clutch was slipping and nearing the end of adjustment. I upgraded to the Rekluse Torque Driveand when combined with the one finger clutch mod it makes for an exceptionally easy clutch pull with a broad pick up range making it nearly impossible to stall. Install was a breeze and the included instructions were clear and detailed. The clutch pack took about 100 miles to fully break in, but feels great and doesn’t slip making those clutch up wheelies a piece of cake.
Coolant Hoses & Thermostat Housing
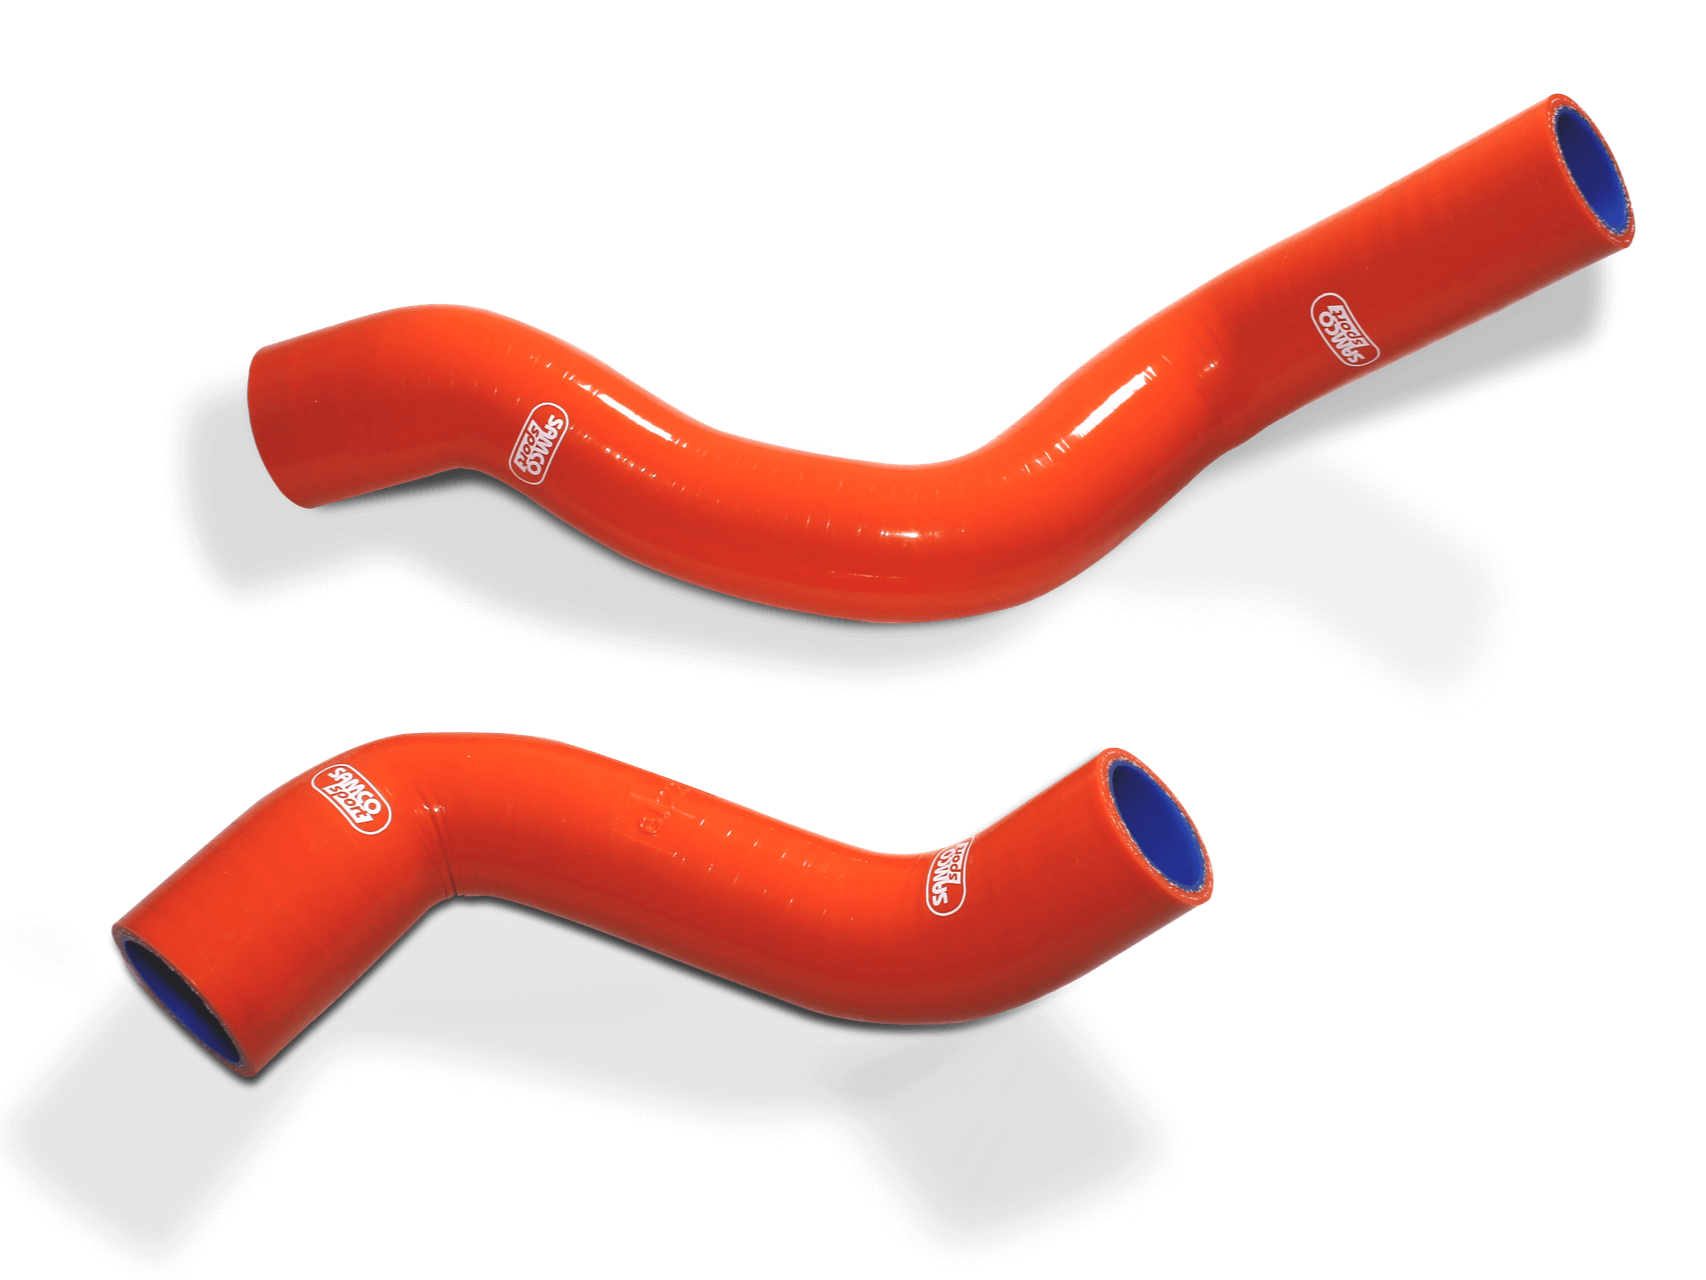
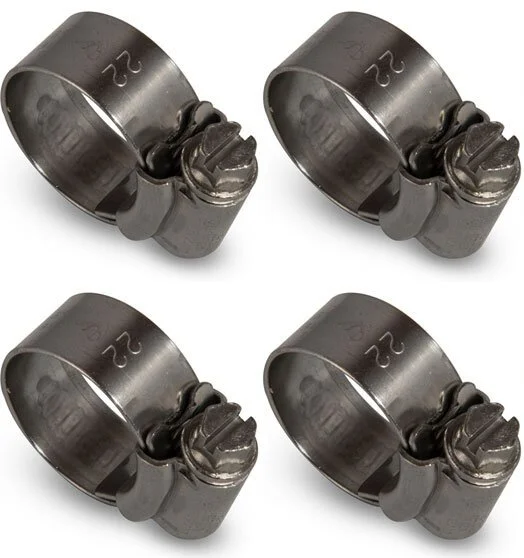
The Thermostat housing and stock coolant hoses have been pretty well documented as leaking on these bikes so at the first sign of weeping on my coolant hoses I decided to upgrade the thermostat housing to the latest part number (2023+) and ordered the Samco hoses along with their clamps. I highly recommend ordering the Samco hoses and Samco clamps as the factory OEM clamps will leak with the Samco hoses. When installing it’s important to not overtighten the clamps and ensure that they are fully seated. Save yourself the trouble of dealing with a coolant leak on the trail and take the preventative measures so you can truly enjoy your time on the trails.
Chain & Sprockets
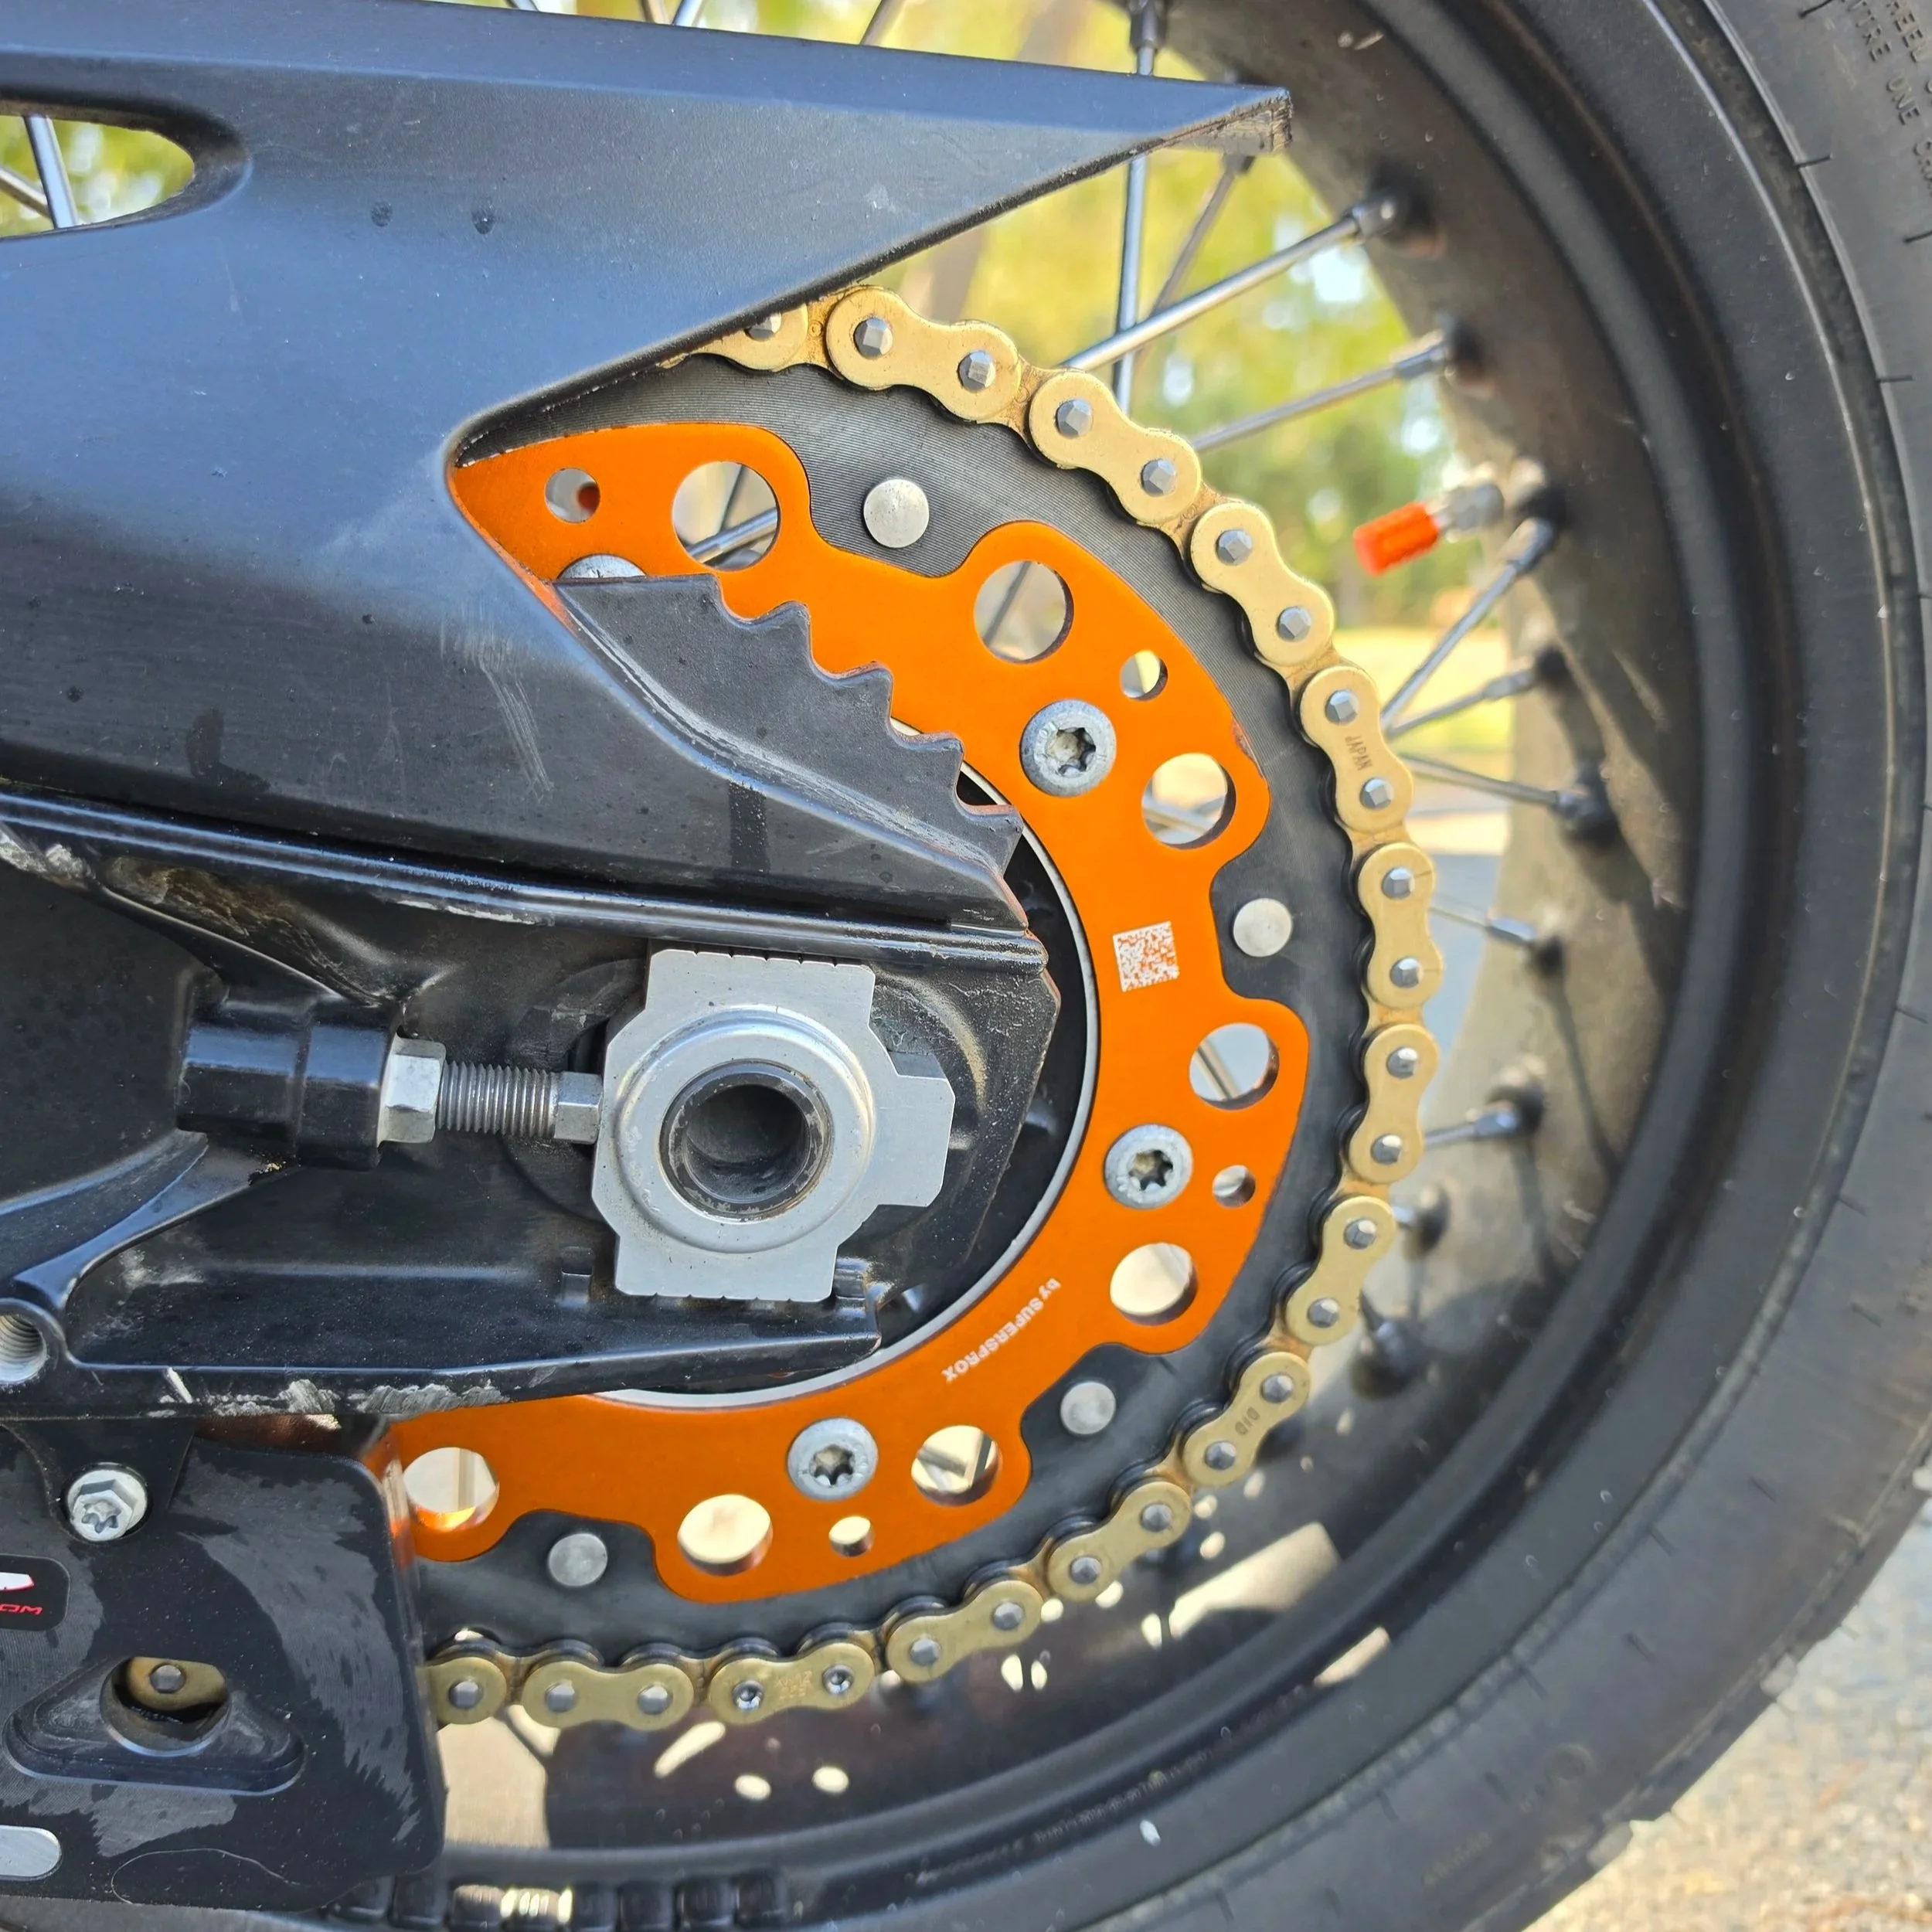
When I got the bike the chain had some serious kinking, stretched and near the end of adjustment so before I was hitting the trails I knew this had to be replaced. In my opinion, the DID ZVMX chain with KTM SuperSprox Orange rear sprocket and Supersprox front sprocket to refresh the drivetrain. The stock sprockets still had a fair amount of life left in them, but with chain/sprockets it’s always best to replace them in sets so they wear together so I took the opportunity to throw some orange in there. The OEM chain guide had shown serious wear so I swapped that out for the BRP chain guide which gave much better piece of mind.
Quick note here, I always recommend ordering an extra rivet masterlink as its better to have it and not need it, than need it and not have it.
Depending on your riding style many also opt for the 15T (-1 from stock) for the front sprocket for a more useable second gear, but it can make the bike a bit buzzier at highway speeds. Worth it to try if you’re comfortable swapping out at home, but at least for me I’ve found the stock gearing to be best for my riding.
Protection
Protection is one of those things where we don’t always realize what we need until the damage is already done. Vanasche Motorsports built a great reputation in the industry with its quality of parts and designs, so after taking a few spills on the trails I knew sooner or later I was going to incur some real damage if I didn’t get protection.
The rear brake rotor is exposed from the factory and while I hadn’t hit it yet, I knew that it was a potential damage spot. In the picture you can actually see the damage on the swingarm in the same area from a drop by the previous owner. The Rear brake rotor protection install was a breeze thanks to their instructional video and I had it installed in about 30min. It gives great piece of mind with protection, adds minimal weight and is certainly easy on the eyes. The quality of materials, design and precisions is all immedietly apparent once you are holding it in your hand.
One of the other areas I wanted to renforce was the front sprocket cover, the stock one being plastic catches alot of grime and chain lube, getting messy fast. I like the fact that I can keep an eye on the front sprocket and output shaft and easily swap out sprockets if I ever wanted too.
One of the main issues I had with riding the bike long distances when I first got it was how cramped the bike felt especially in my knees. Due to not being comfortable, it also made shifting especially with boots less than ideal and I knew I wouldn’t be able to ride confidenltly offroad until I felt planted on the bike with direct feelings to the controls.
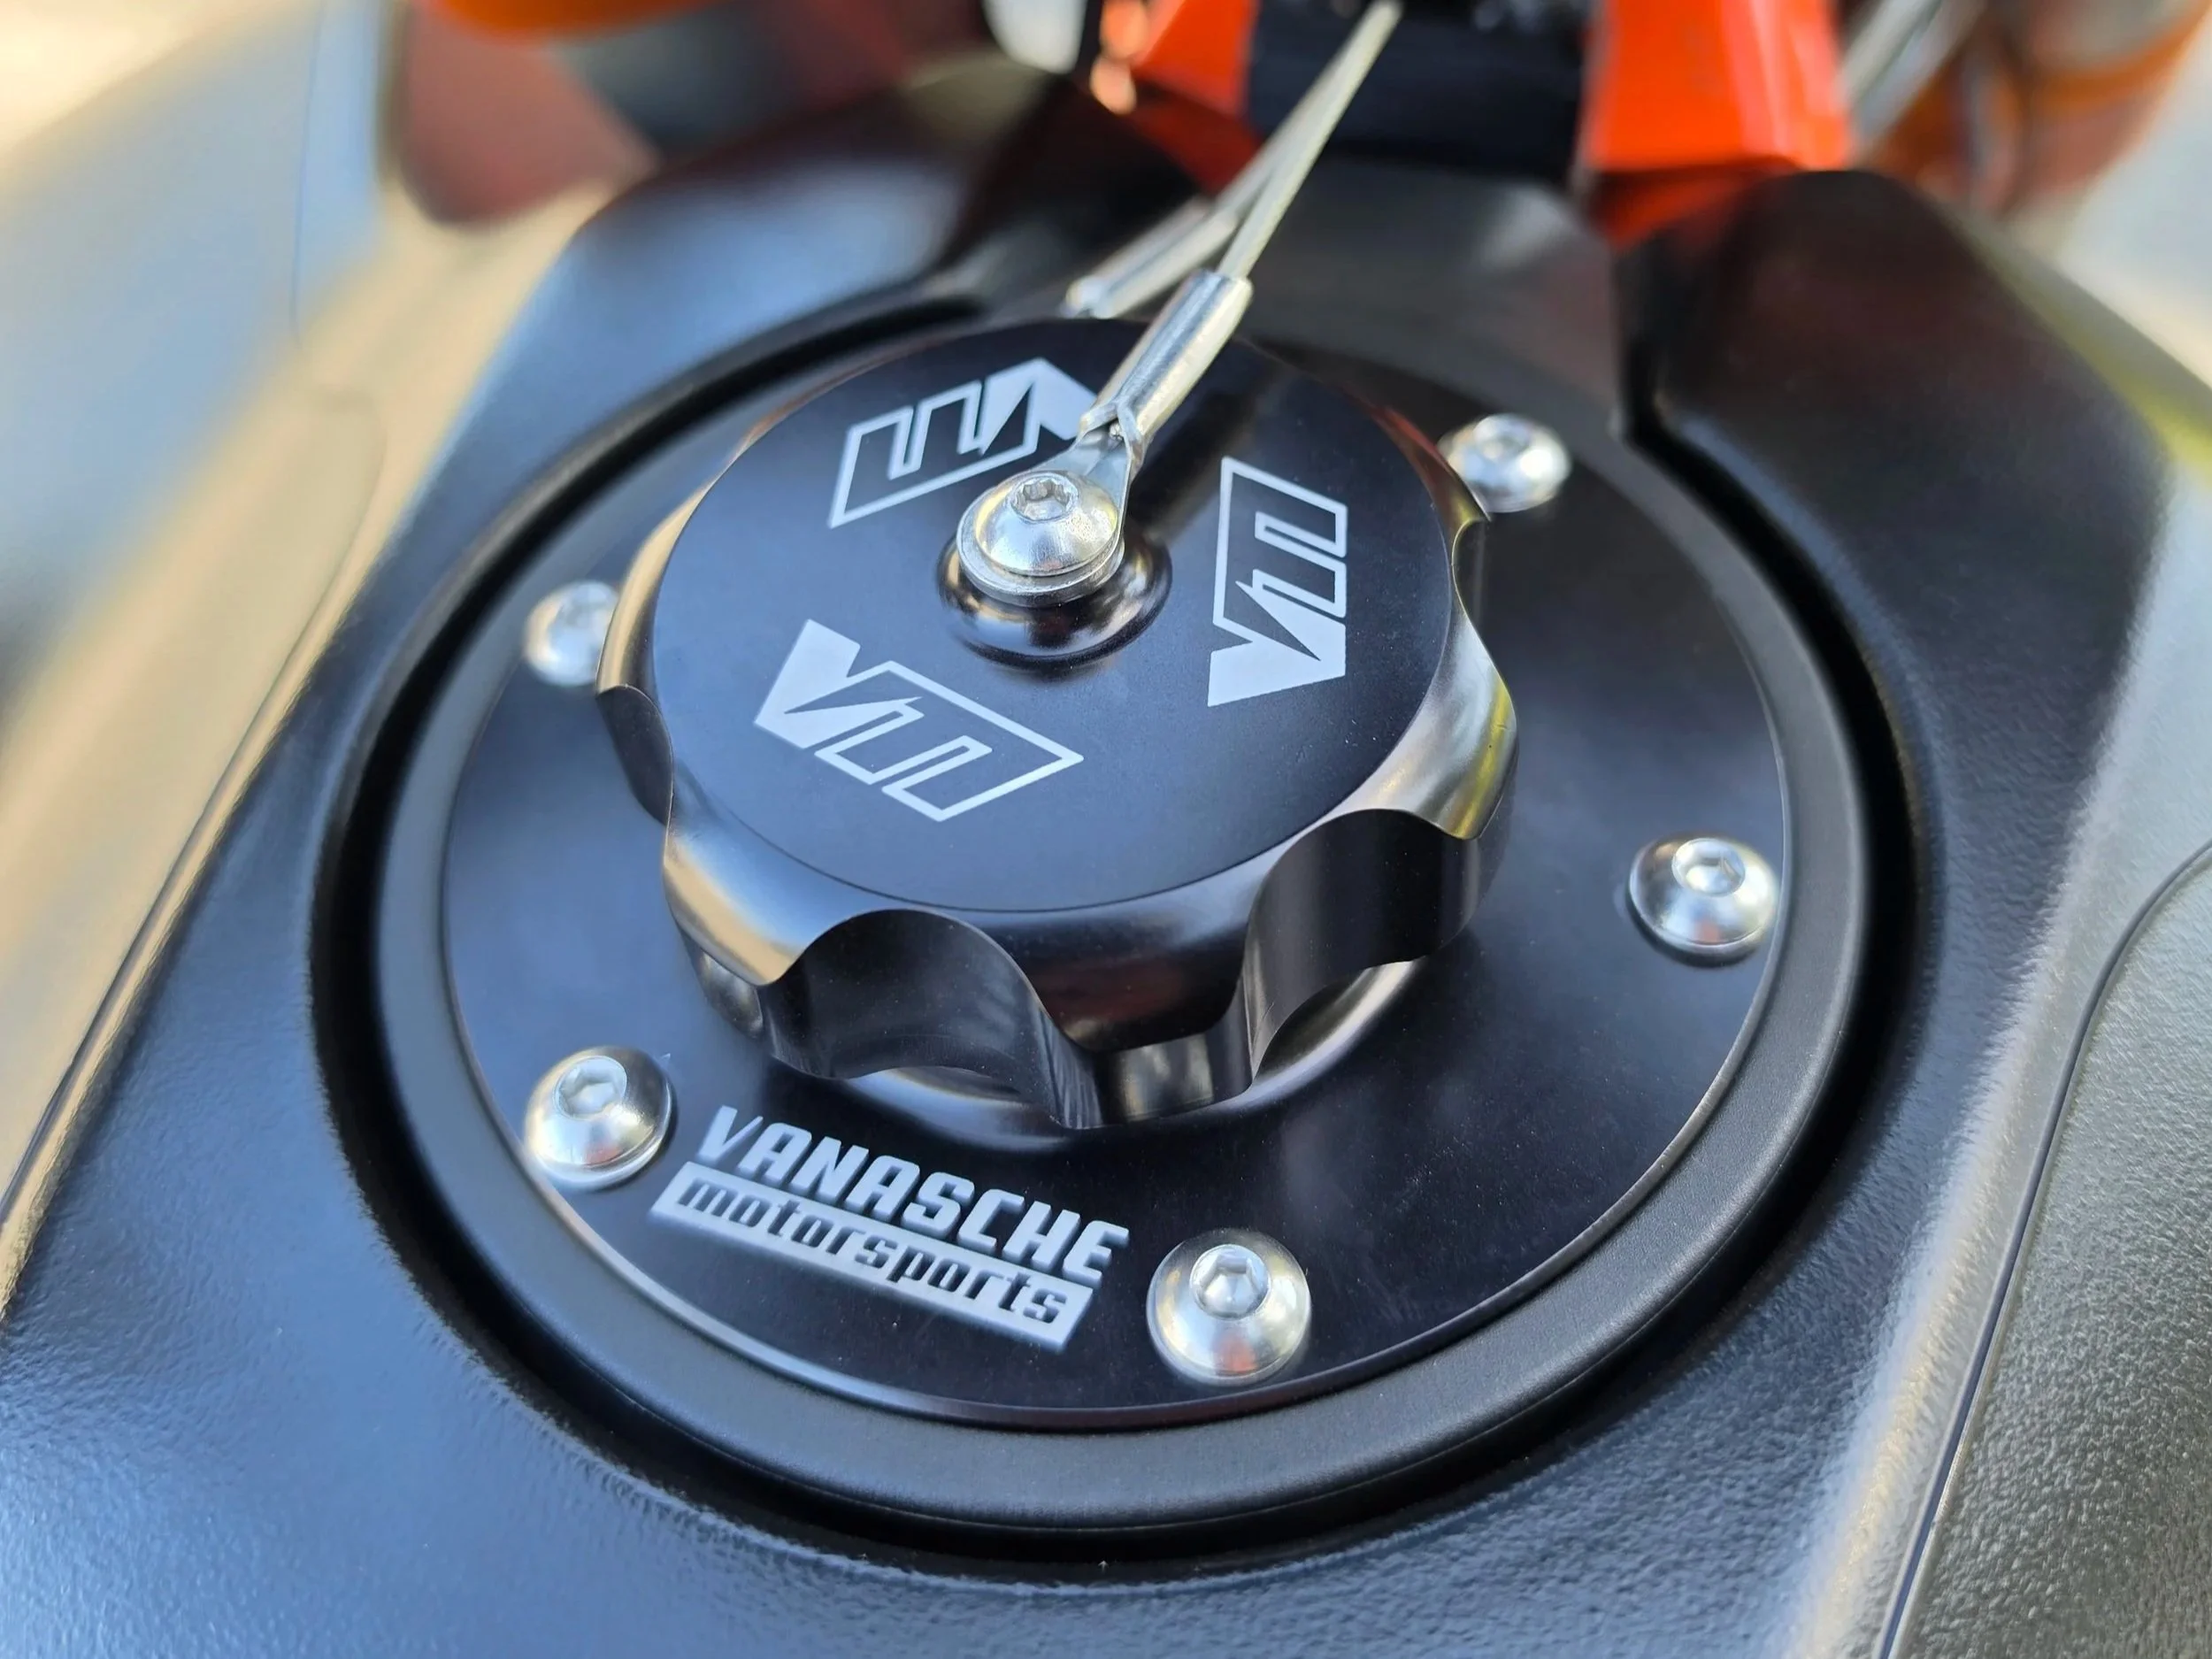
One of the key complaints on this bike is gas cap and there have been reported of cases of people breaking their keys in the stock gas cap. I wanted to rule that out entirely and have nice piece of mind (not to mention it looks amazing) so I opted for the Vanasche Motorpsorts billet fuel fillter setup.
Mirrors
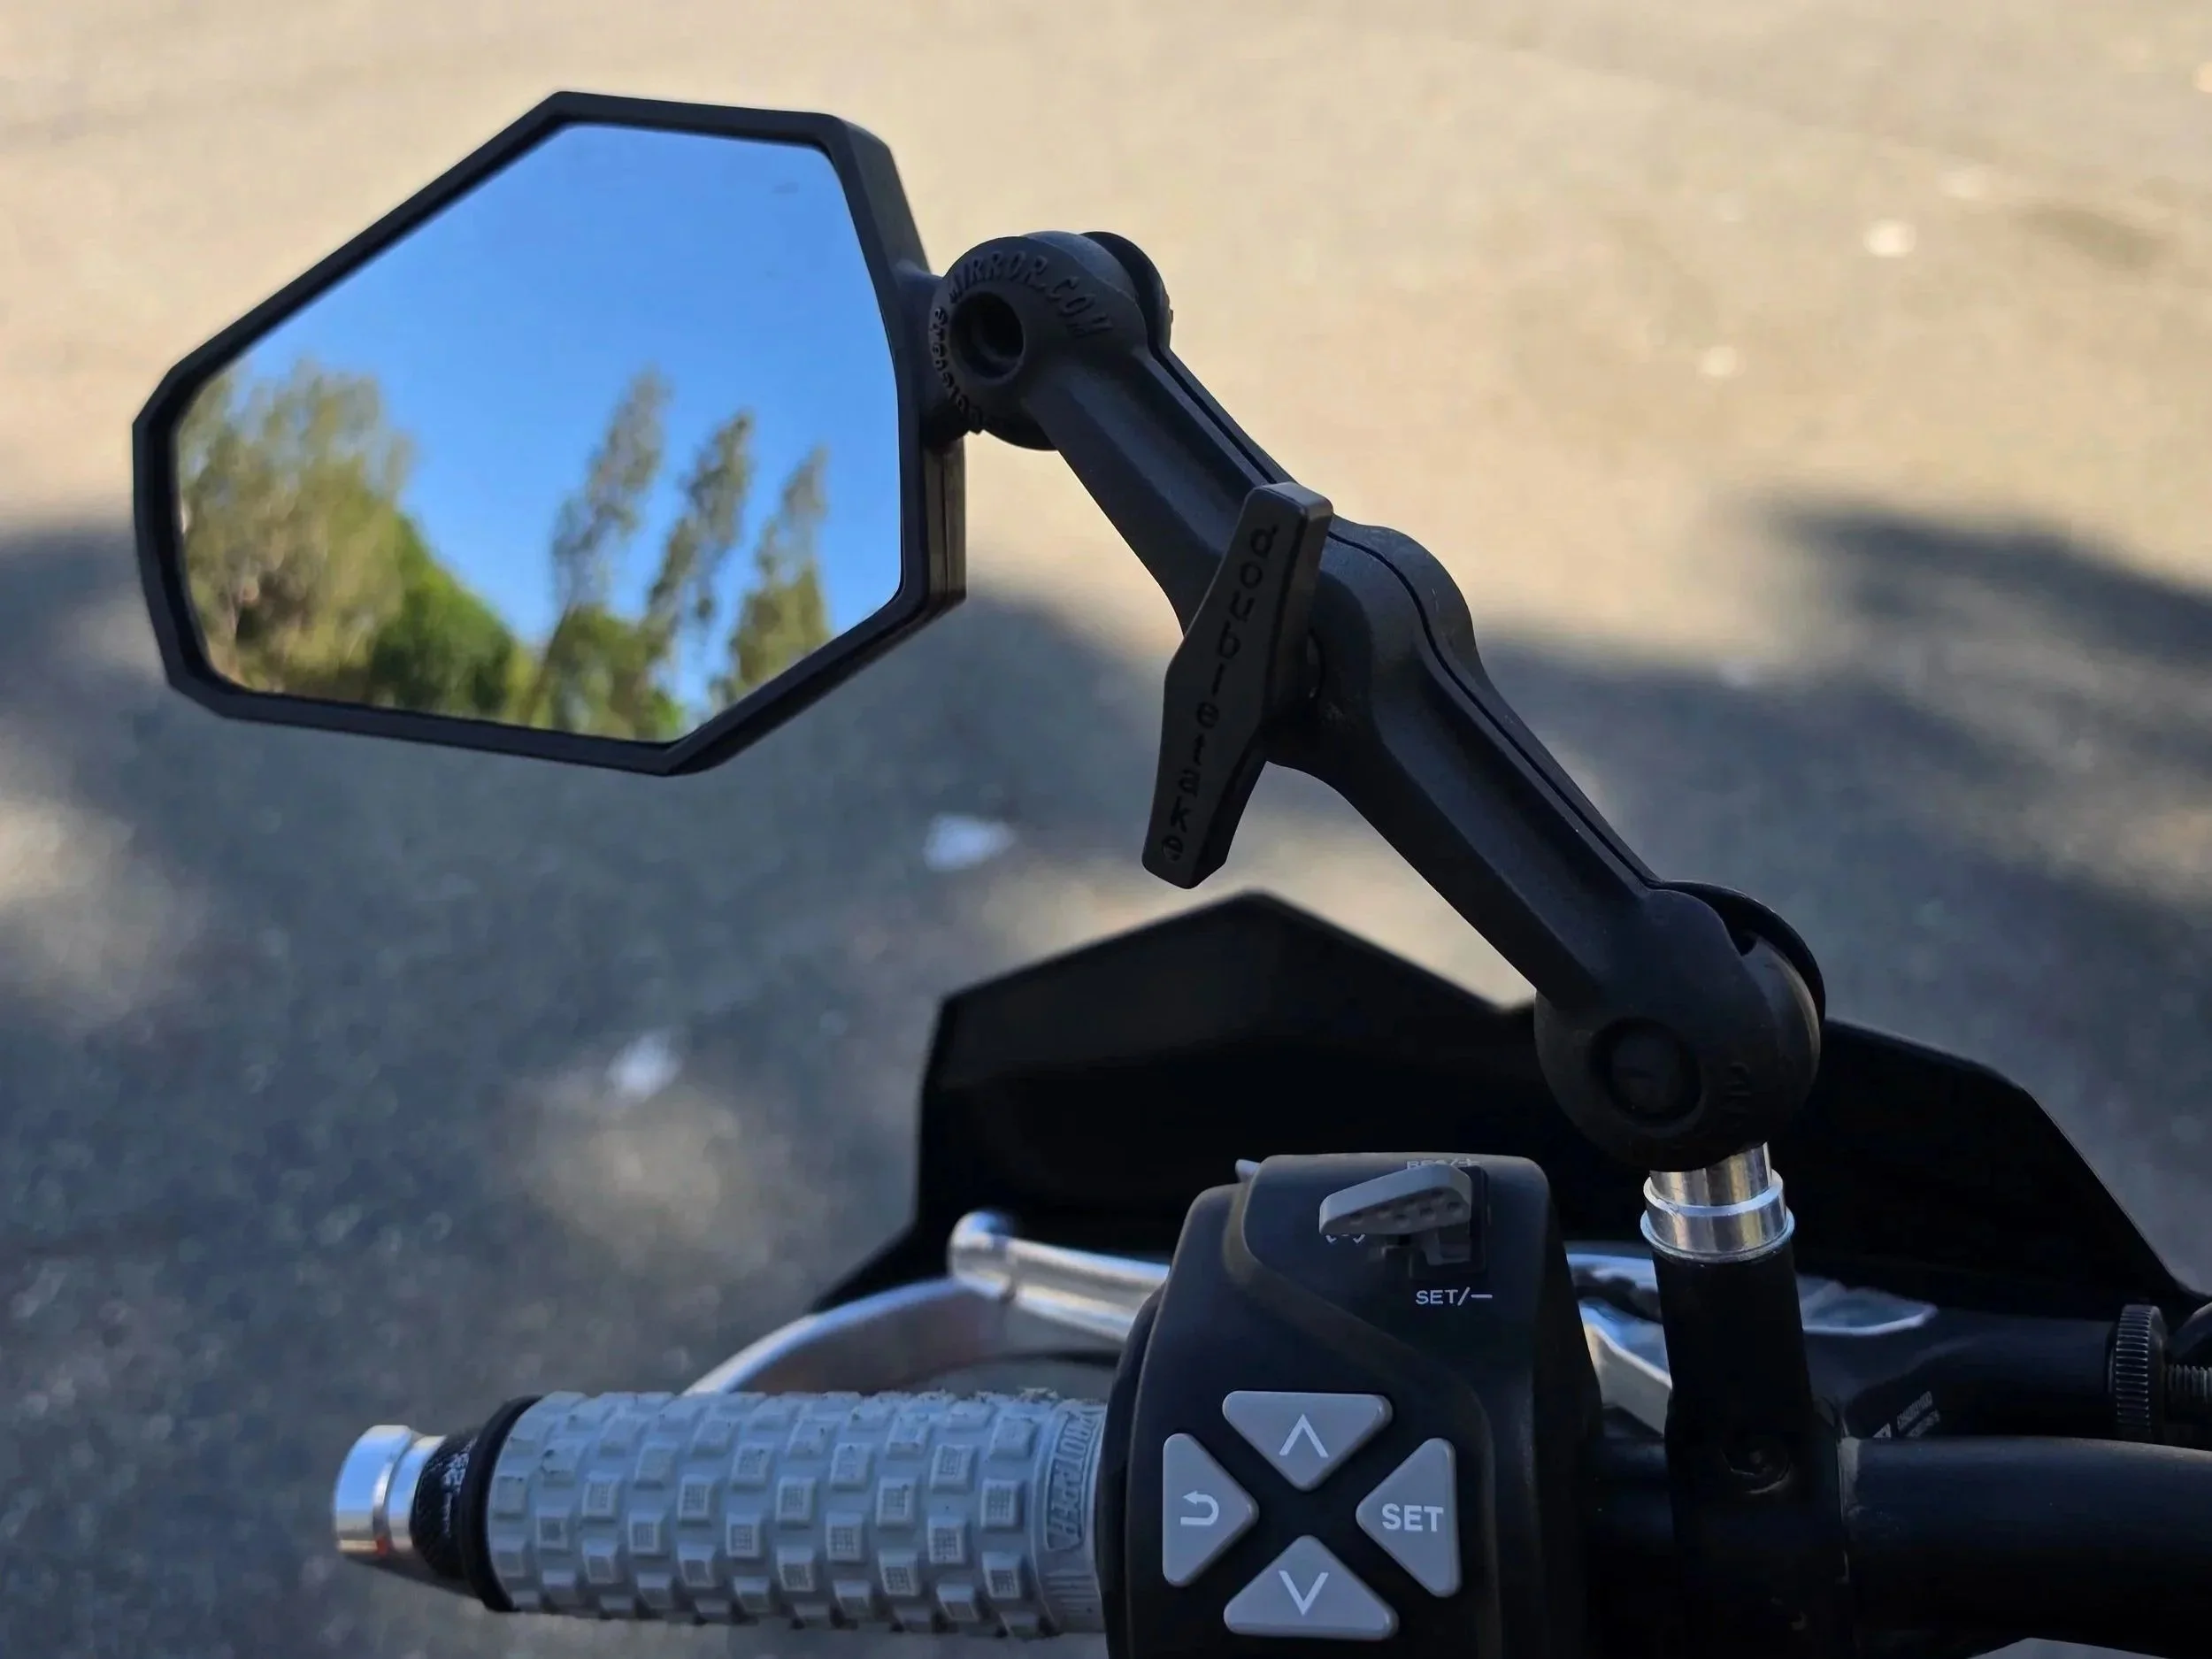
While the stock mirrors serve their purpose they don’t look good and they lack adjustability. One of the first things I ordered when I got this bike was the Double Take 2.0 mirrors and they have been perfect. You don’t have to look far on the internet to find people raving about these and its for good reason.
The Double Take 2.0 mirrors have certainly earned their place in the industry with quality, design and customer support so I knew that was the option I was going to go with. They are suprisingly easy to adjust after doing it the first couple times, but the key I think is to hold the mirror with one hand that you want to adjust and then loosen the clamp with the other slowly, until you can adjust the mirror to your liking.
Fuel Cap
I was never a fan of having to use the key to open the gas tank and had perhaps an unrational paranoia that the key would brake at some point leaving me stranded. With the VM Fuel cap there’s no more dealing with your key and it looks super cool on your bike. Everytime I open the fuel cap and unscrew it you can feel the quality in the product and it makes me smile.
One of the key complaints on this bike is gas cap and there have been reported of cases of people breaking their keys in the stock gas cap. I wanted to rule that out entirely and have nice piece of mind (not to mention it looks amazing) so I opted for the Vanasche Motorpsorts billet fuel fillter setup.


Air Intake
When it comes to air intakes on these bike’s the primary concern is dust ingestion. I wanted to stick with a two-stage stetup where I could use the Twin Air Prefilter setup that replaces the top of the airbox as well as an upgraded seal for where the stock air filter sits.
Due to there being a recall put out for dust injestion on these, I went ahead and took the opportunity to seal the velocity stacks where they meet the factory airbox with black RTV silicone which has been holdin up quite well.
The paper filter wasn’t going to cut it so I upgraded to the Funnelweb filter and frame setup, that also utilizes its own two-stage design which gives great piece of mind and incredibly effective with keeping the dirt out of the airbox.
While I haven’t had any dust intrusion with the currrent setup, I’m going to switch to the Powercell intake in the future for the ease of swapping out filters and I’m curious to try the design.
Navigation
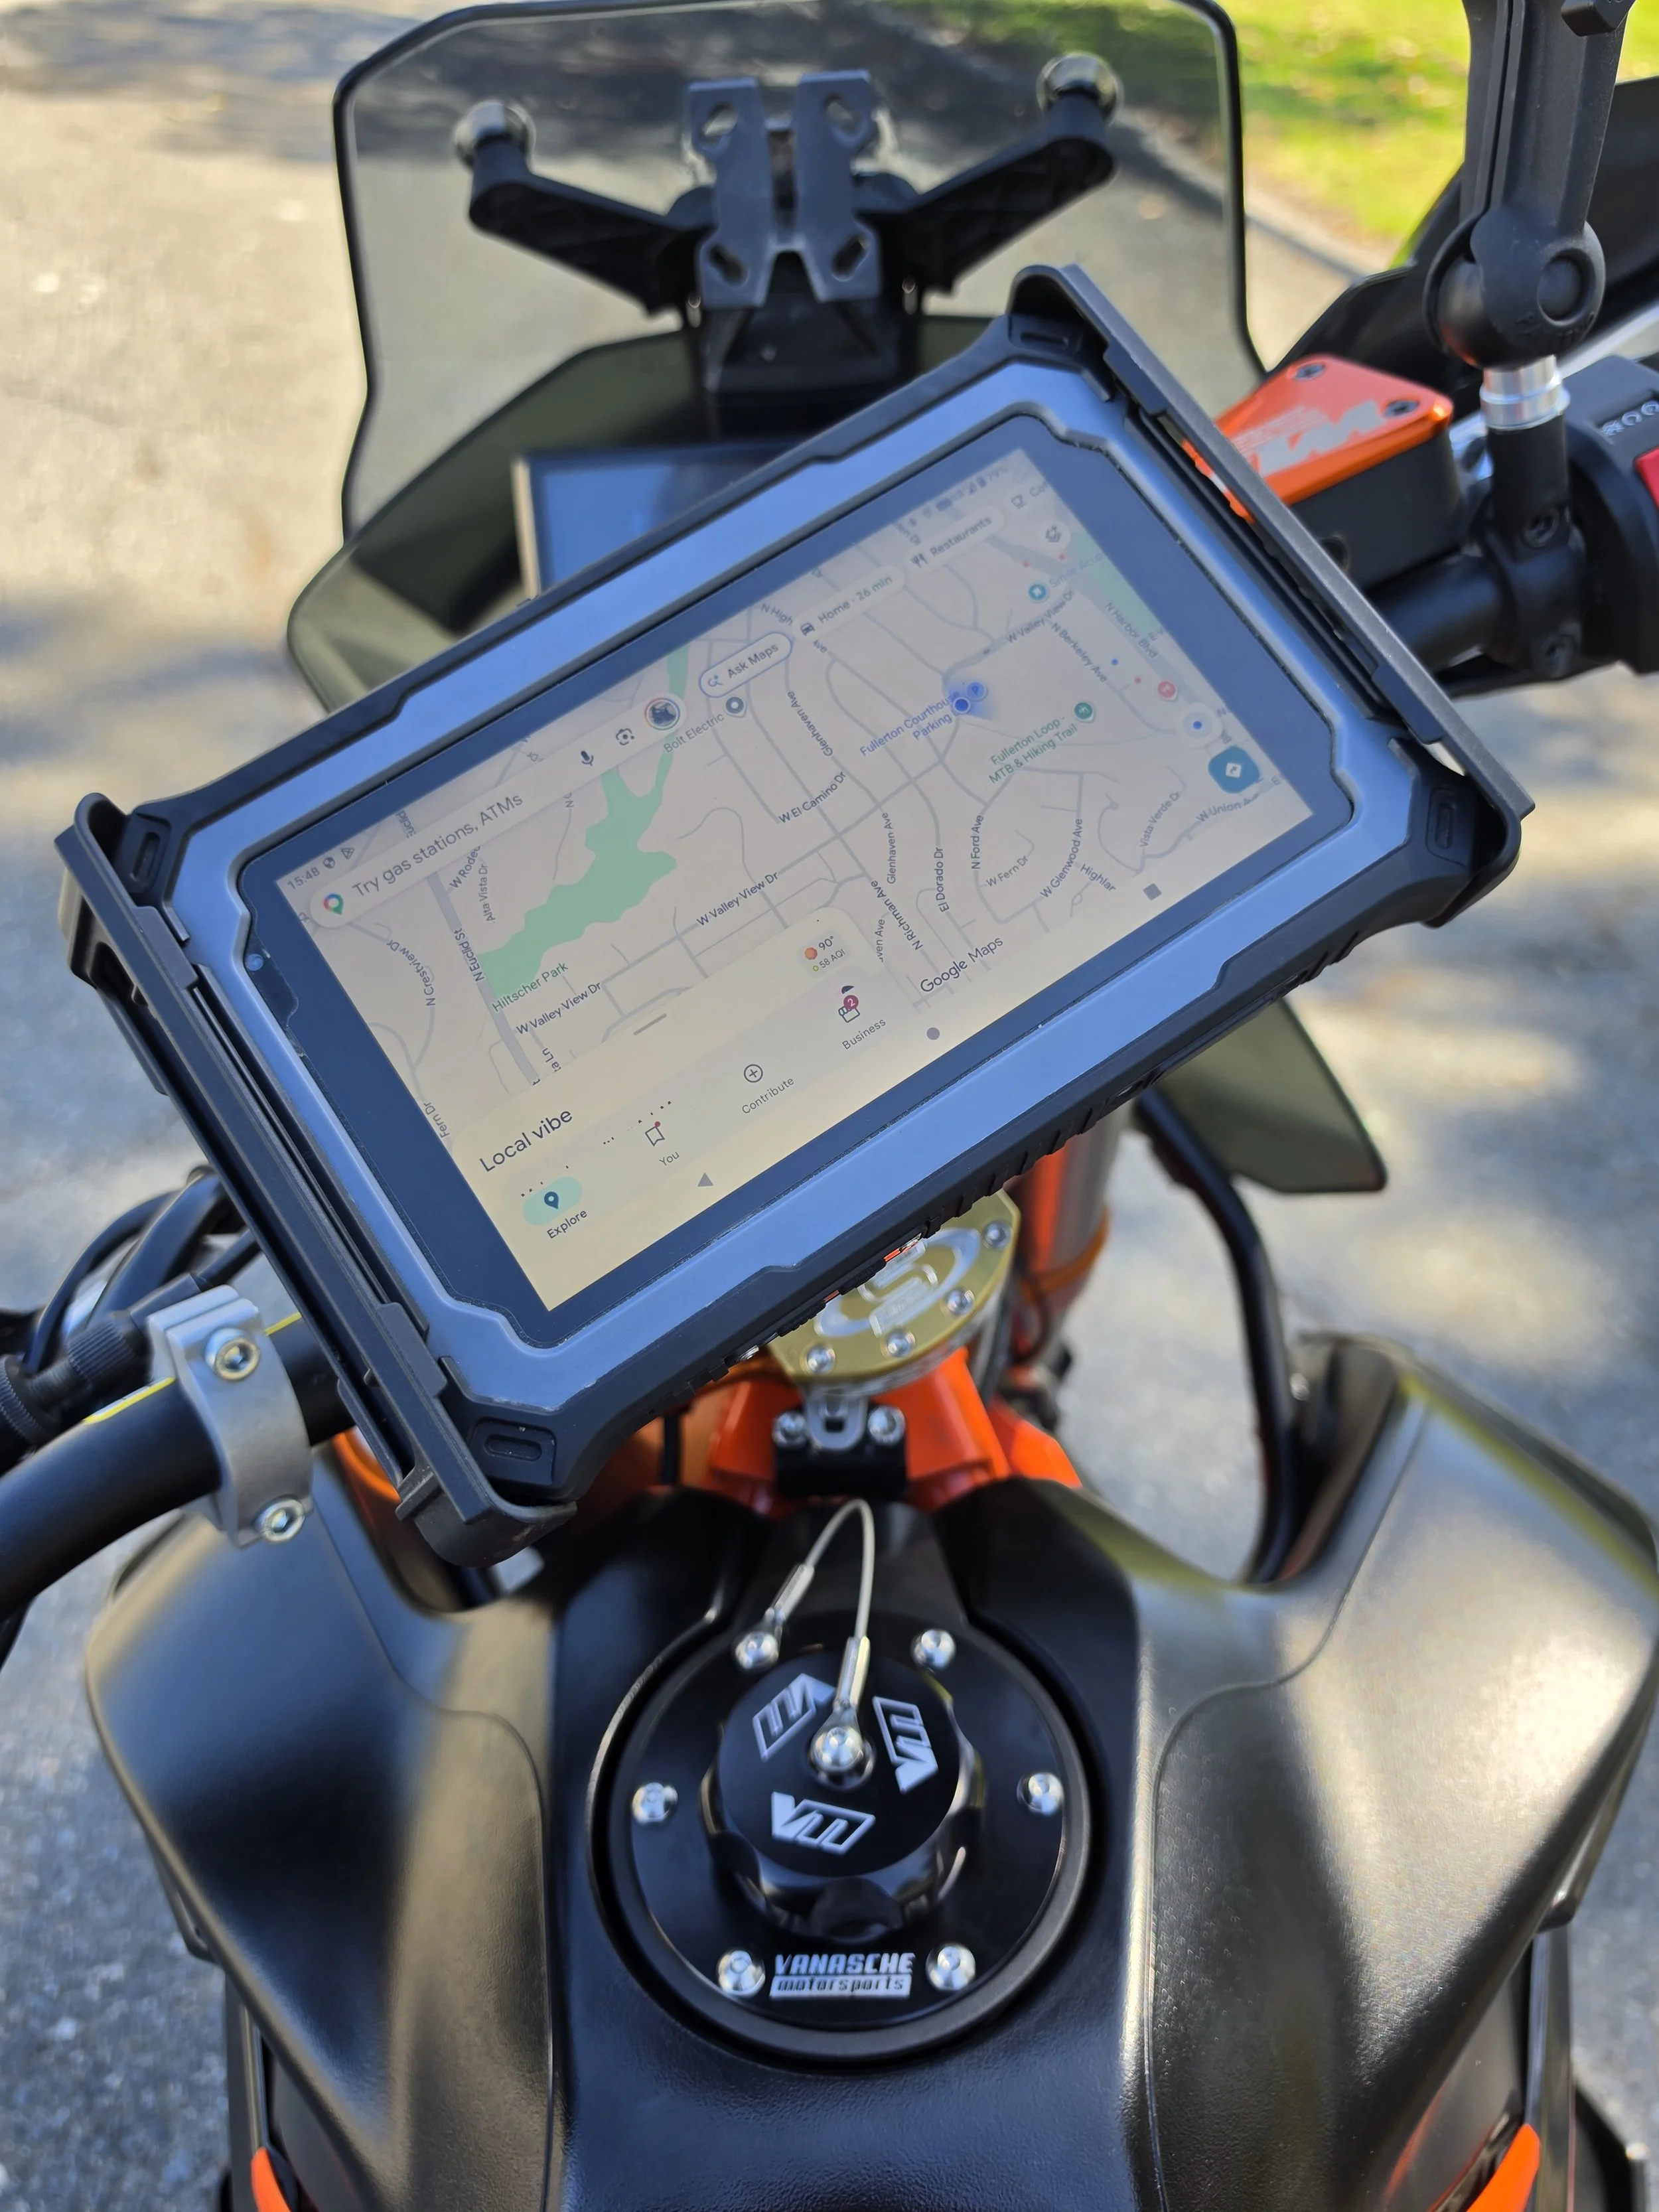
When it comes to navigating there is a wide spectrum of options available from using your cell phone with a mount to full blown tablets, there is no shortage of options available to you. When looking for a tablet I knew that I wanted something that was durable, easy to read in the sun, Android with no paywalls or subscriptions.
In my research I found a company called Grit Adventure Tablet that sells a complete kit with an Android based, armored tablet with mounts in an affordable package. After visiting their website I saw that they actually were putting the tablet through its paces with testing, offering different mounting options and was a straightforward setup allowing the customer to choose the apps to run - whether it be All Trails, Onx, Gai or DMD all can be used on here.
The Tablet processing speed is faster than expected and I’ve been able to use it for work when needed which adds an extra layer of usefulness. I swapped in a SiM card from an unused tablet at home making it a very handy and even allowing me to monitor business emails when riding. I currently have the tablet mounted to the handlebars using the included mounts, but when I eventually install a Rally Tower may move it above the OEM dash for improved visibility.
As with any tablet you decide to use I would recommend a screen protector.*
Triple Clamps & Tapered Bearings
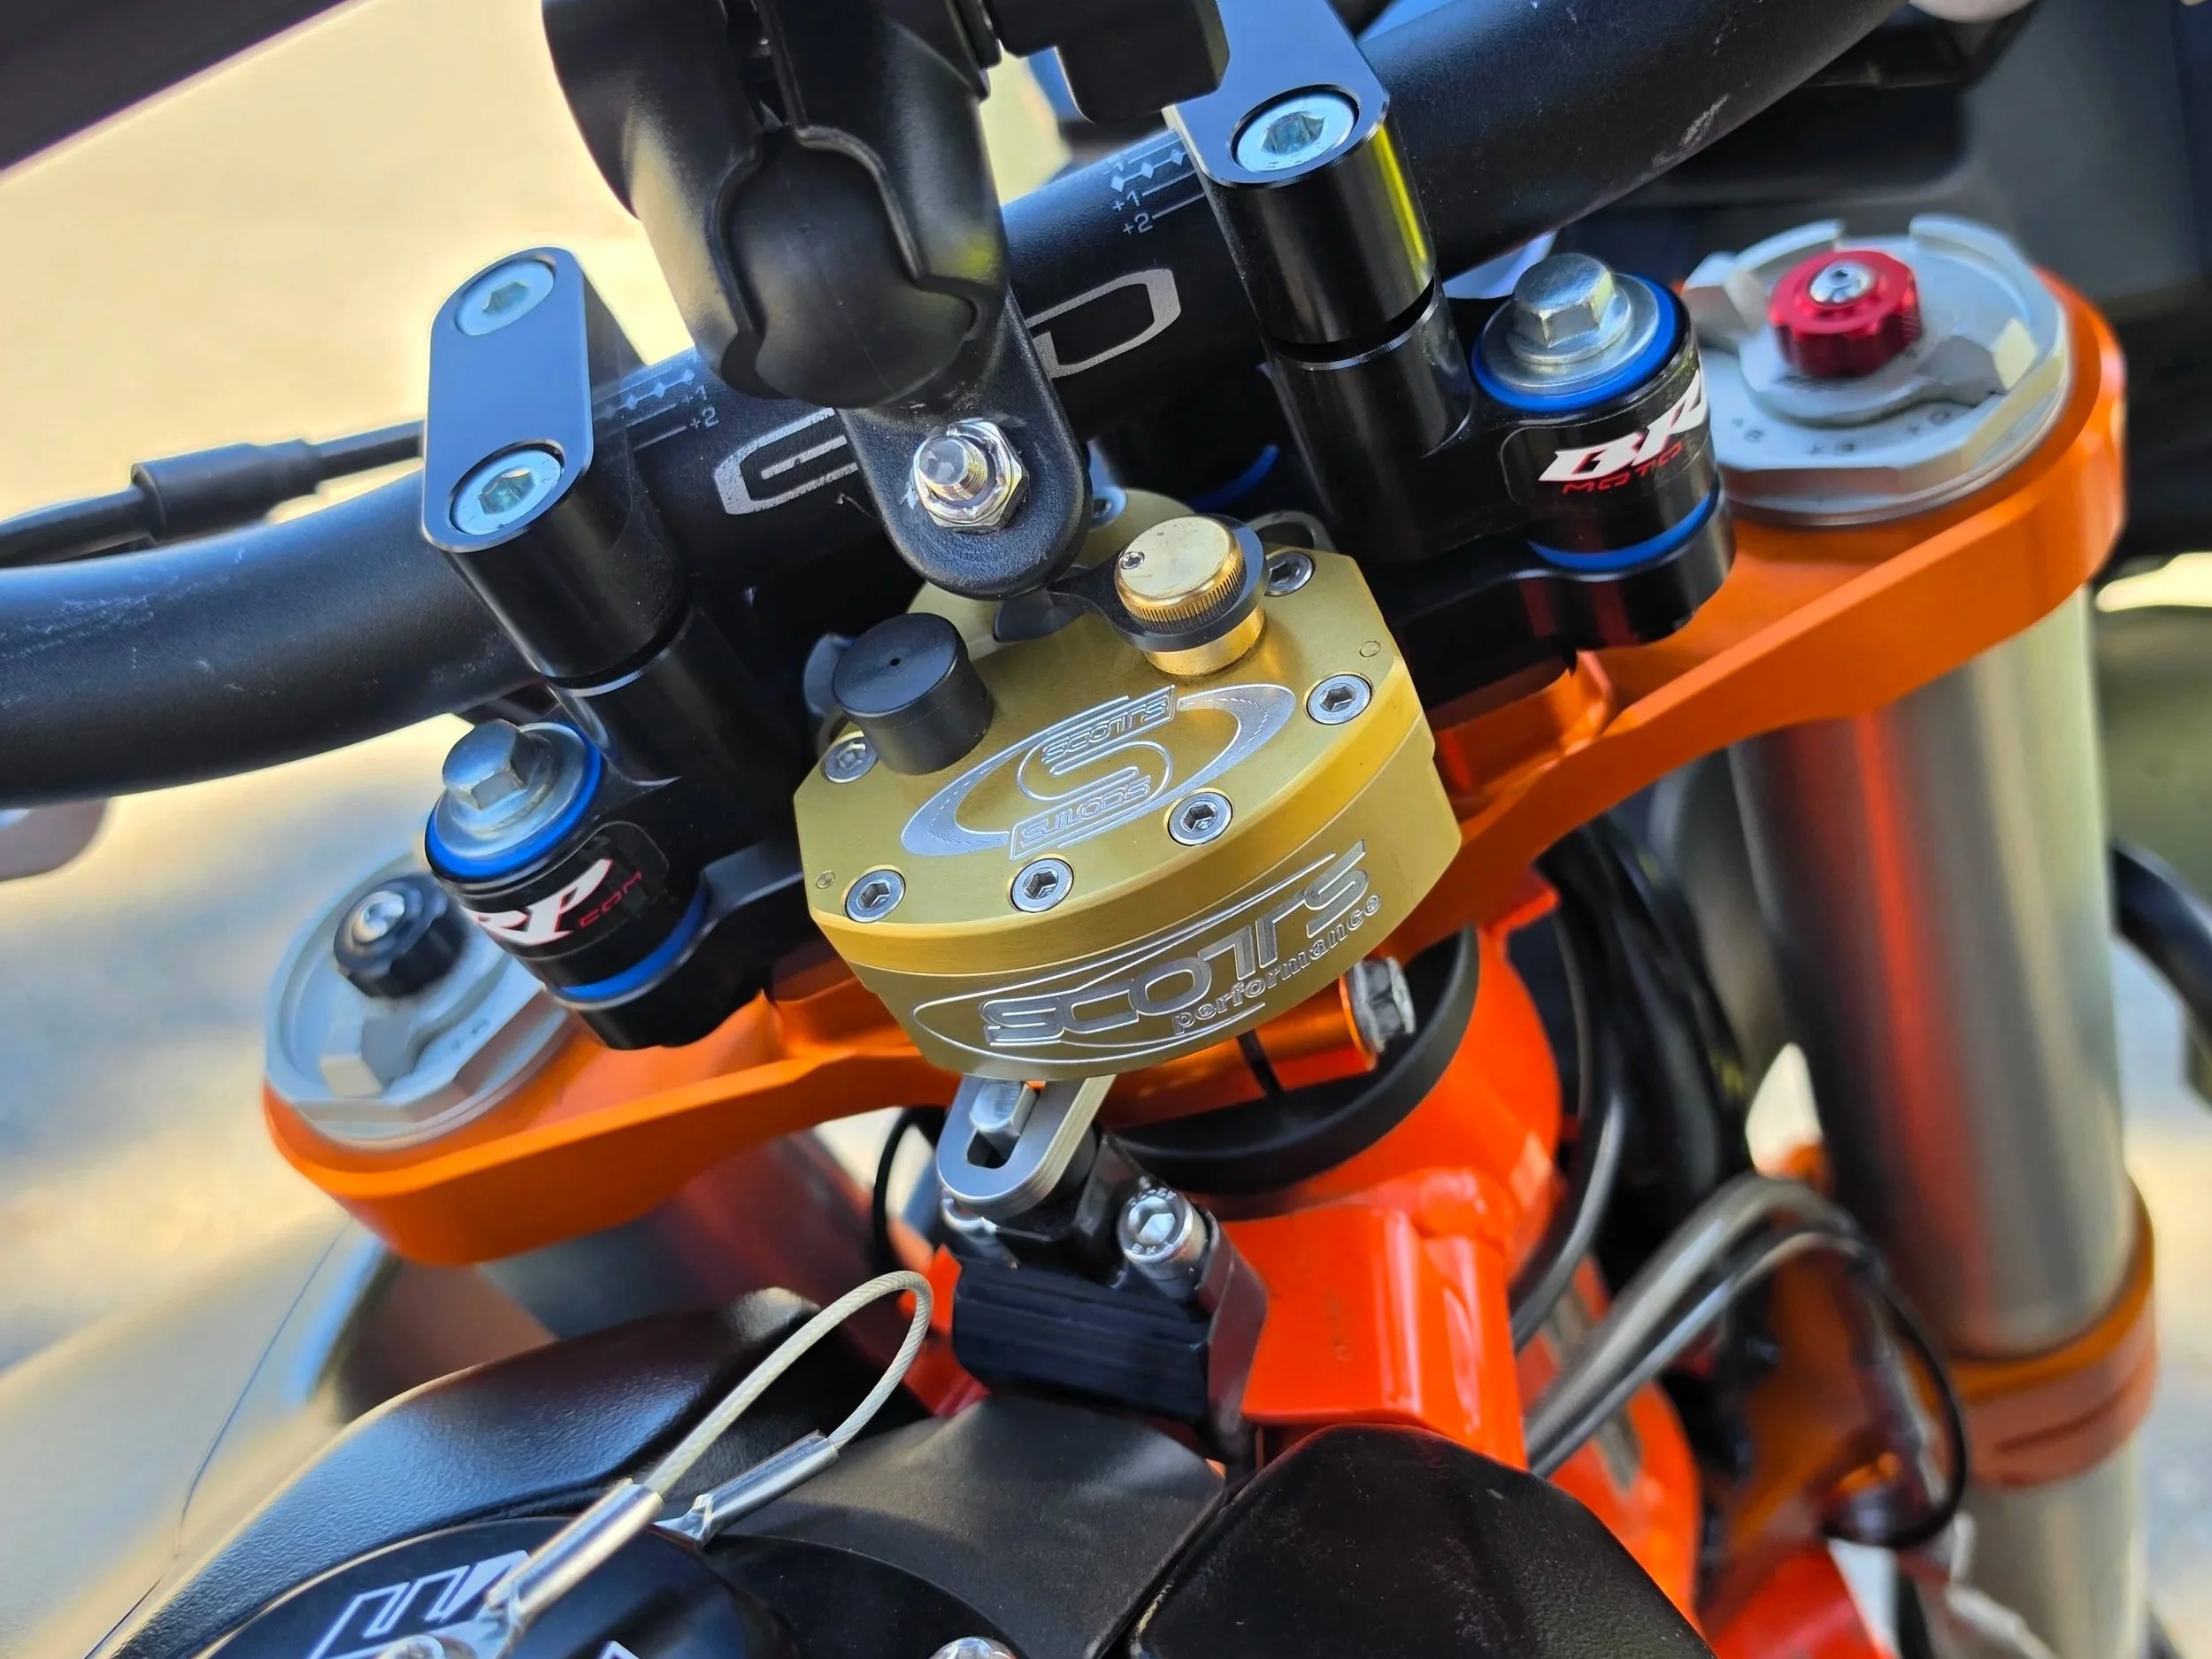
It’s a well documented issue that these bikes come with standard ball bearing style bearings used in the factory triple clamps and have been known to take a fair beating when ridden offroad aggressively. It’s not uncommon that many 790/890/901 owners end up having to go back and tighten these up. When steering bearings get loose it can often present itself in the form of a knocking/bumping feeling when applying the front brakes and going over bumps.
When installing the billet Triple Clamps from KTM we wanted to ensure we upgraded the factory steering bearings to Timken Tapered bearings part #32006X. For those that are considering doing the upgrade to their own bike at home; these bearings can usually be found online for about $20 each from various retailors.
Exhaust
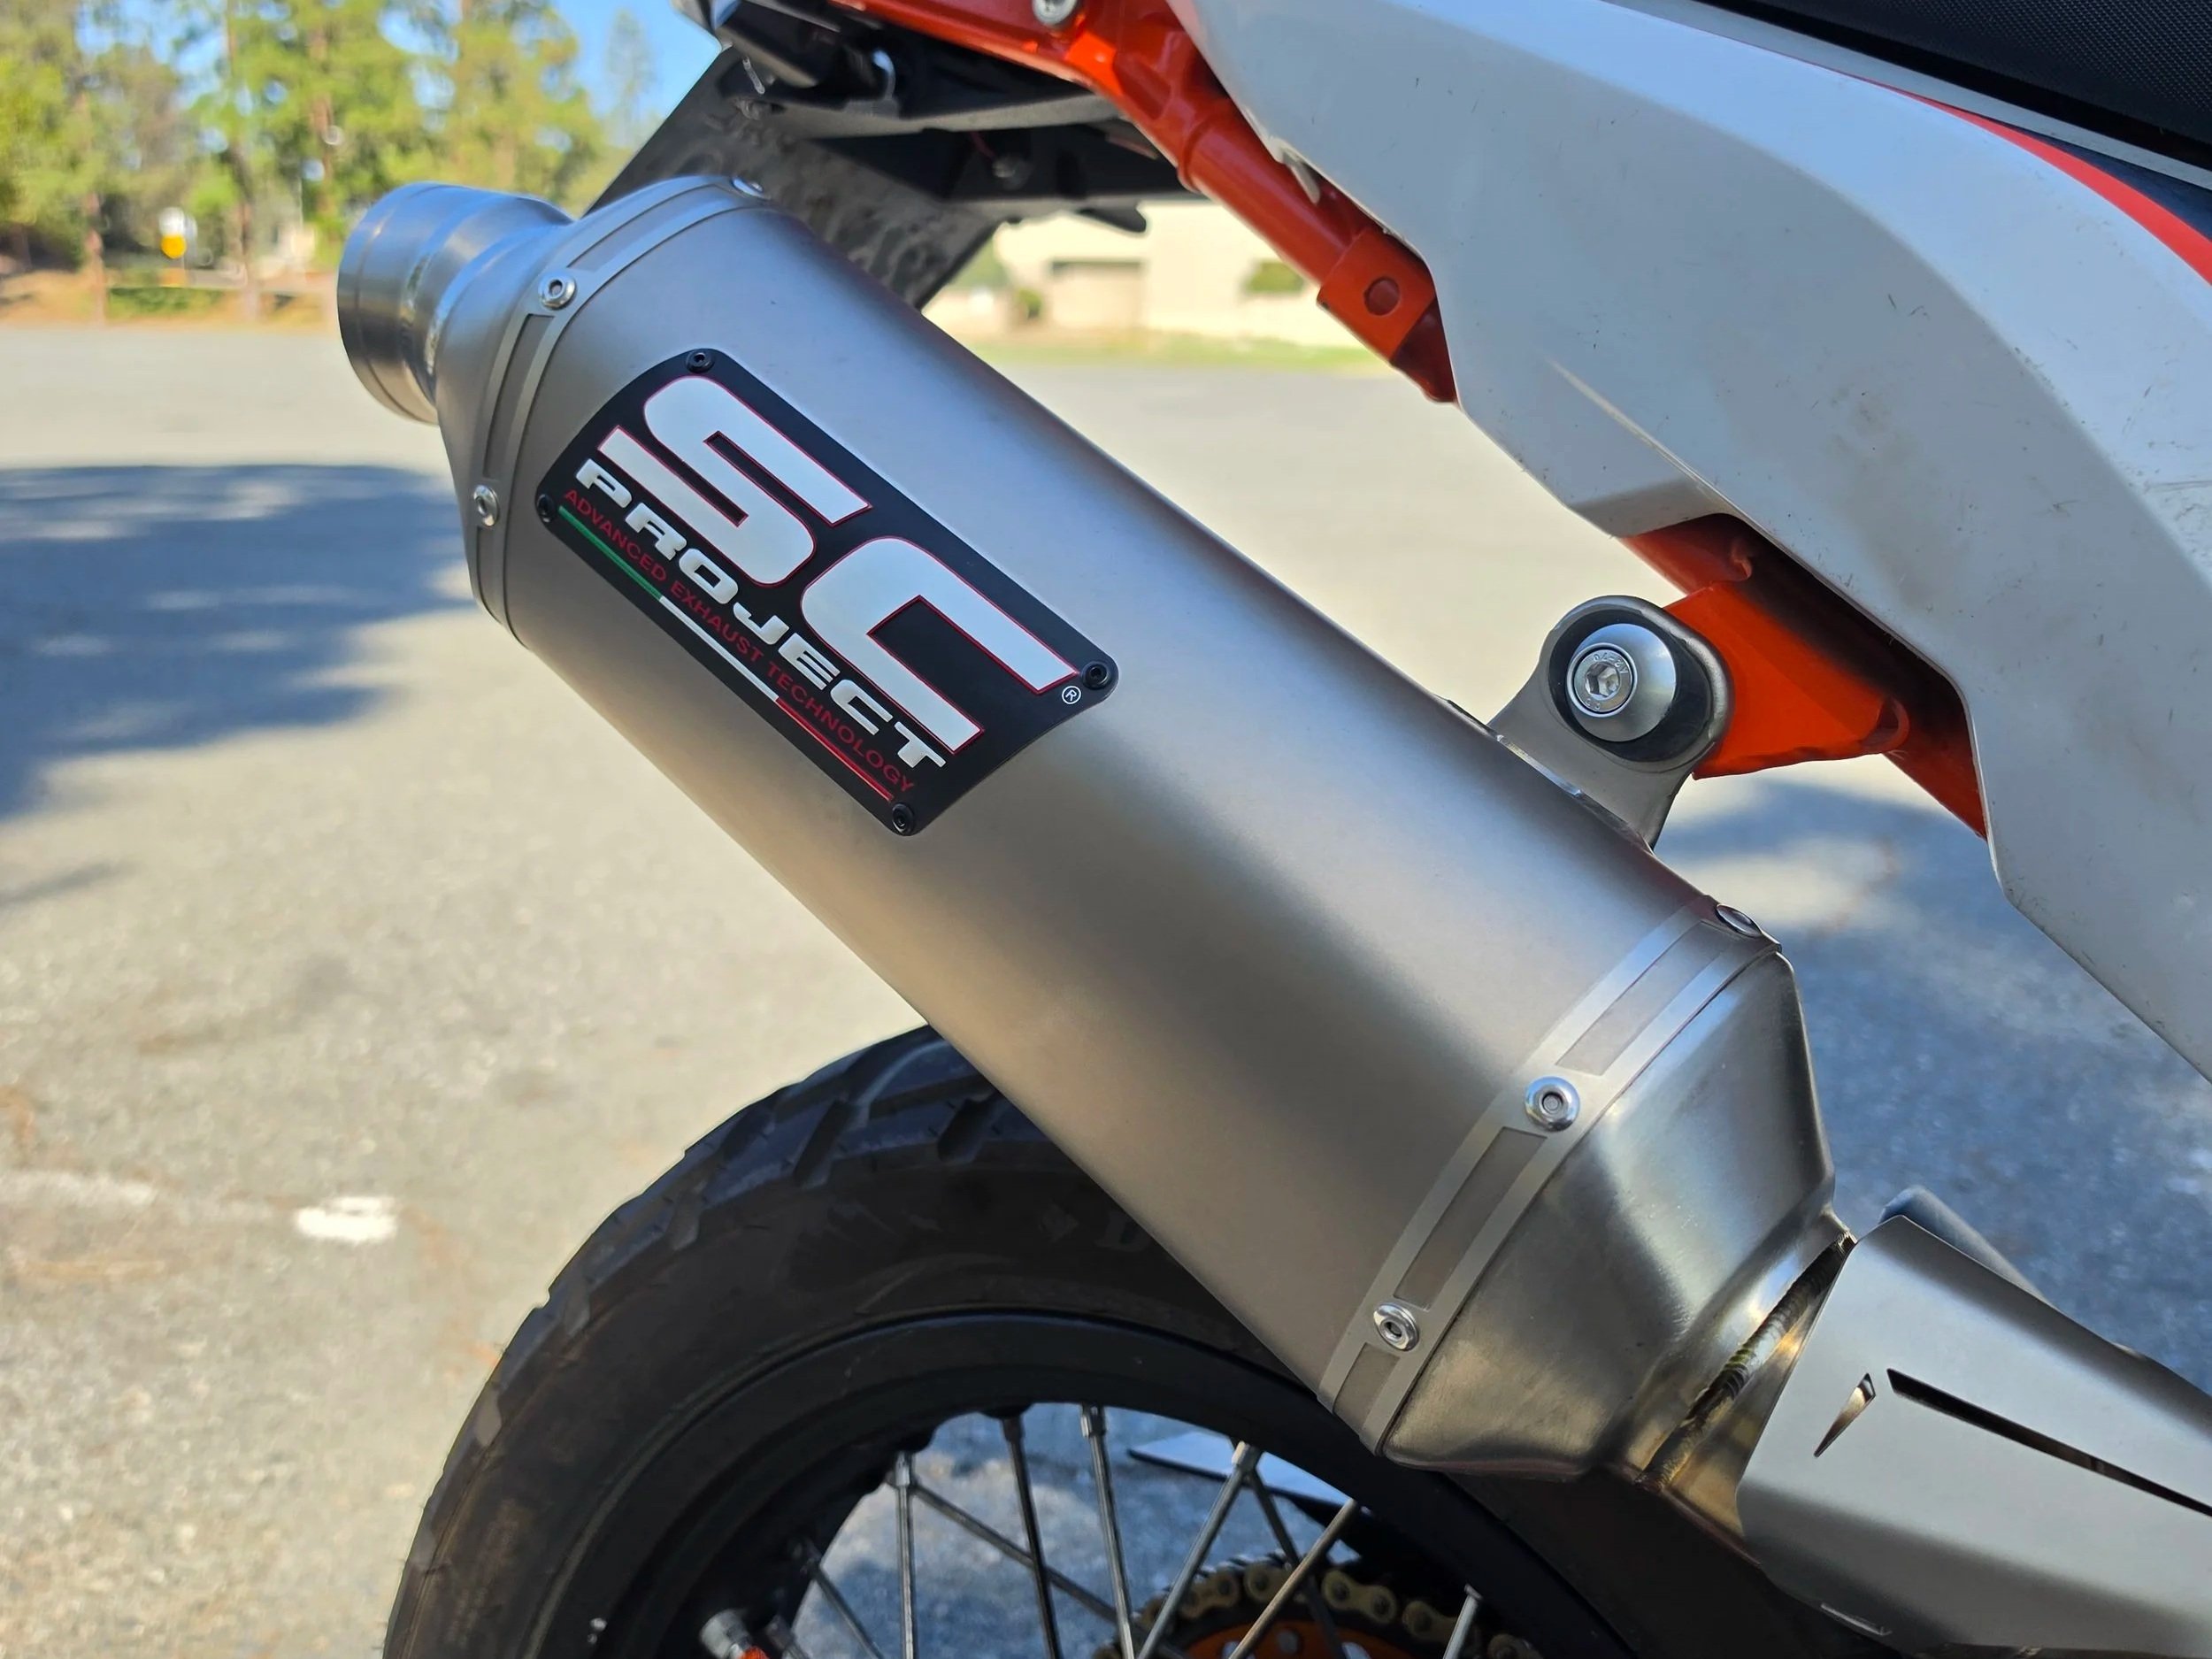
When it came to the exhaust setup the first order of business was to remove the heavy and heat soaked catalytic converter. The Arrow decat midpipe was my first pick being the design utilizes an expansion chamber to help retain backpressure and reduce drone. I installed it with fresh gaskets to ensure no exhaust leakage down the road. There are cheap decat mid pipes out there, but they can lead to loss of torque, poor fitment, drone and even cracking so I do recommend sticking with a reputable company.
I paired the decat Arrow mid pipe with the SC Project Rally Raid muffler which thanks to the titanium sheds a fed pounds off the bike. Admittedly, after spending some time riding the Aprilia Tuareg Rally recently and experiencing the SC Project Rally Raid muffler on that bike, it inspired me to put the same muffler on my KTM 890 Adventure R and I couldn’t be happier. Removing the DB killer is the icing on the cake and provides a nice 'pop’ on upshifts with the QS, but it does void your warranty with SC Project so something to bear in mind. I’m very impressed with how well the exhaust is designed and is worth every penny.
Weight savings
Improved and smoother sound
Sharper throttle response
Suspension
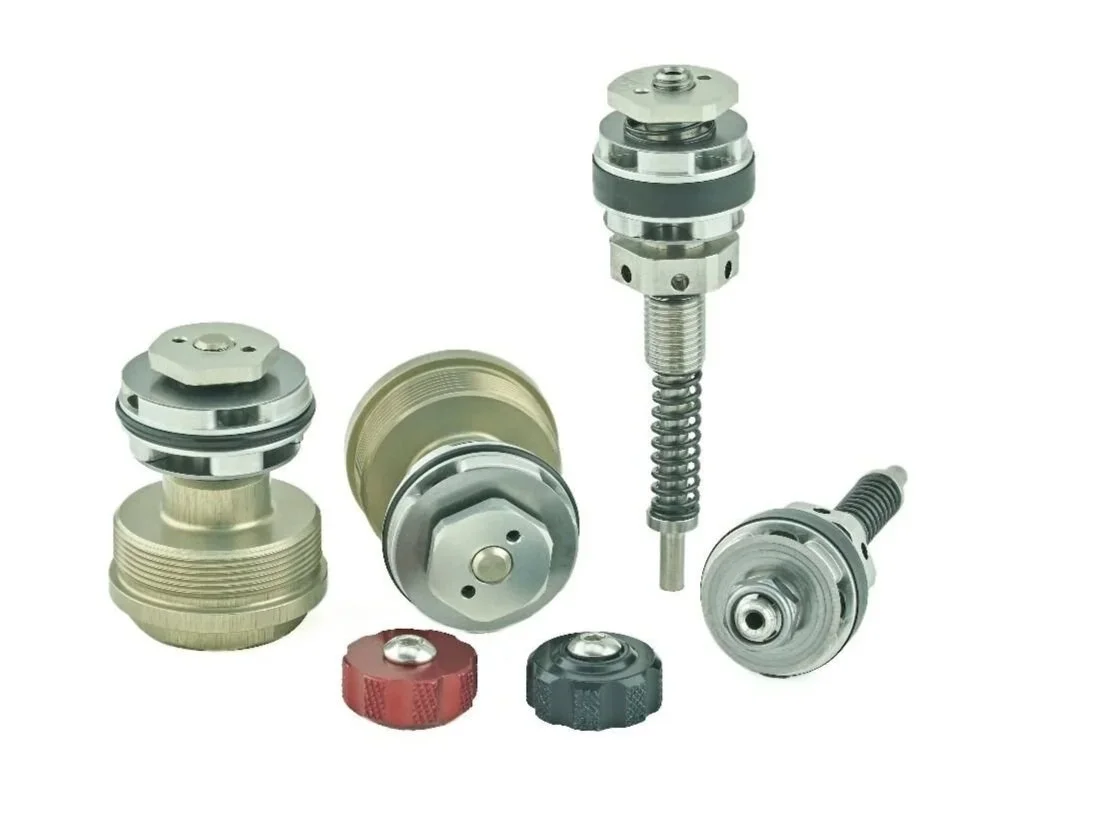
These bikes come with arguably the best stock suspension on a middleweight Adventure bike, but when I picked up the bike the original suspension had never been serviced with nearly 7,500 miles on the clock and it was noticeable on my first offroad ride. Time to upgrade it while I’m in there. I wanted to increase the compliance while maximizing the capabilities of the suspension without breaking the bank. I settled on the KTECH ORVS Front / Rear kits and reusing the factory springs as they would still work with the rider weight and luggage.
For the rear shock I also opted to upgrade the the stock nylon IFP (Internal floating piston) for a CNC aluminum version to help prevent deformation, reduce friction, provide better seal support and improve the overall life of the shock. One of those while you’re in there, might as well add it things.
I’ve been very happy with the kit since installing it and can certainly appreciate the improved compliance, more comfortable ride and more confidence especially when finding oneself in unexpected “oh shi*!” moments. The bike is very responsive, controllable and predictable. I do still feel like I need more time playing with the adjustment to get it the most out of it, but that is an on-going process. Overall I’m very happy with the setup and I’m excited to continue to push it and continue to dial in the settings. Money well spent!
Tail Tidy & Turn Signals
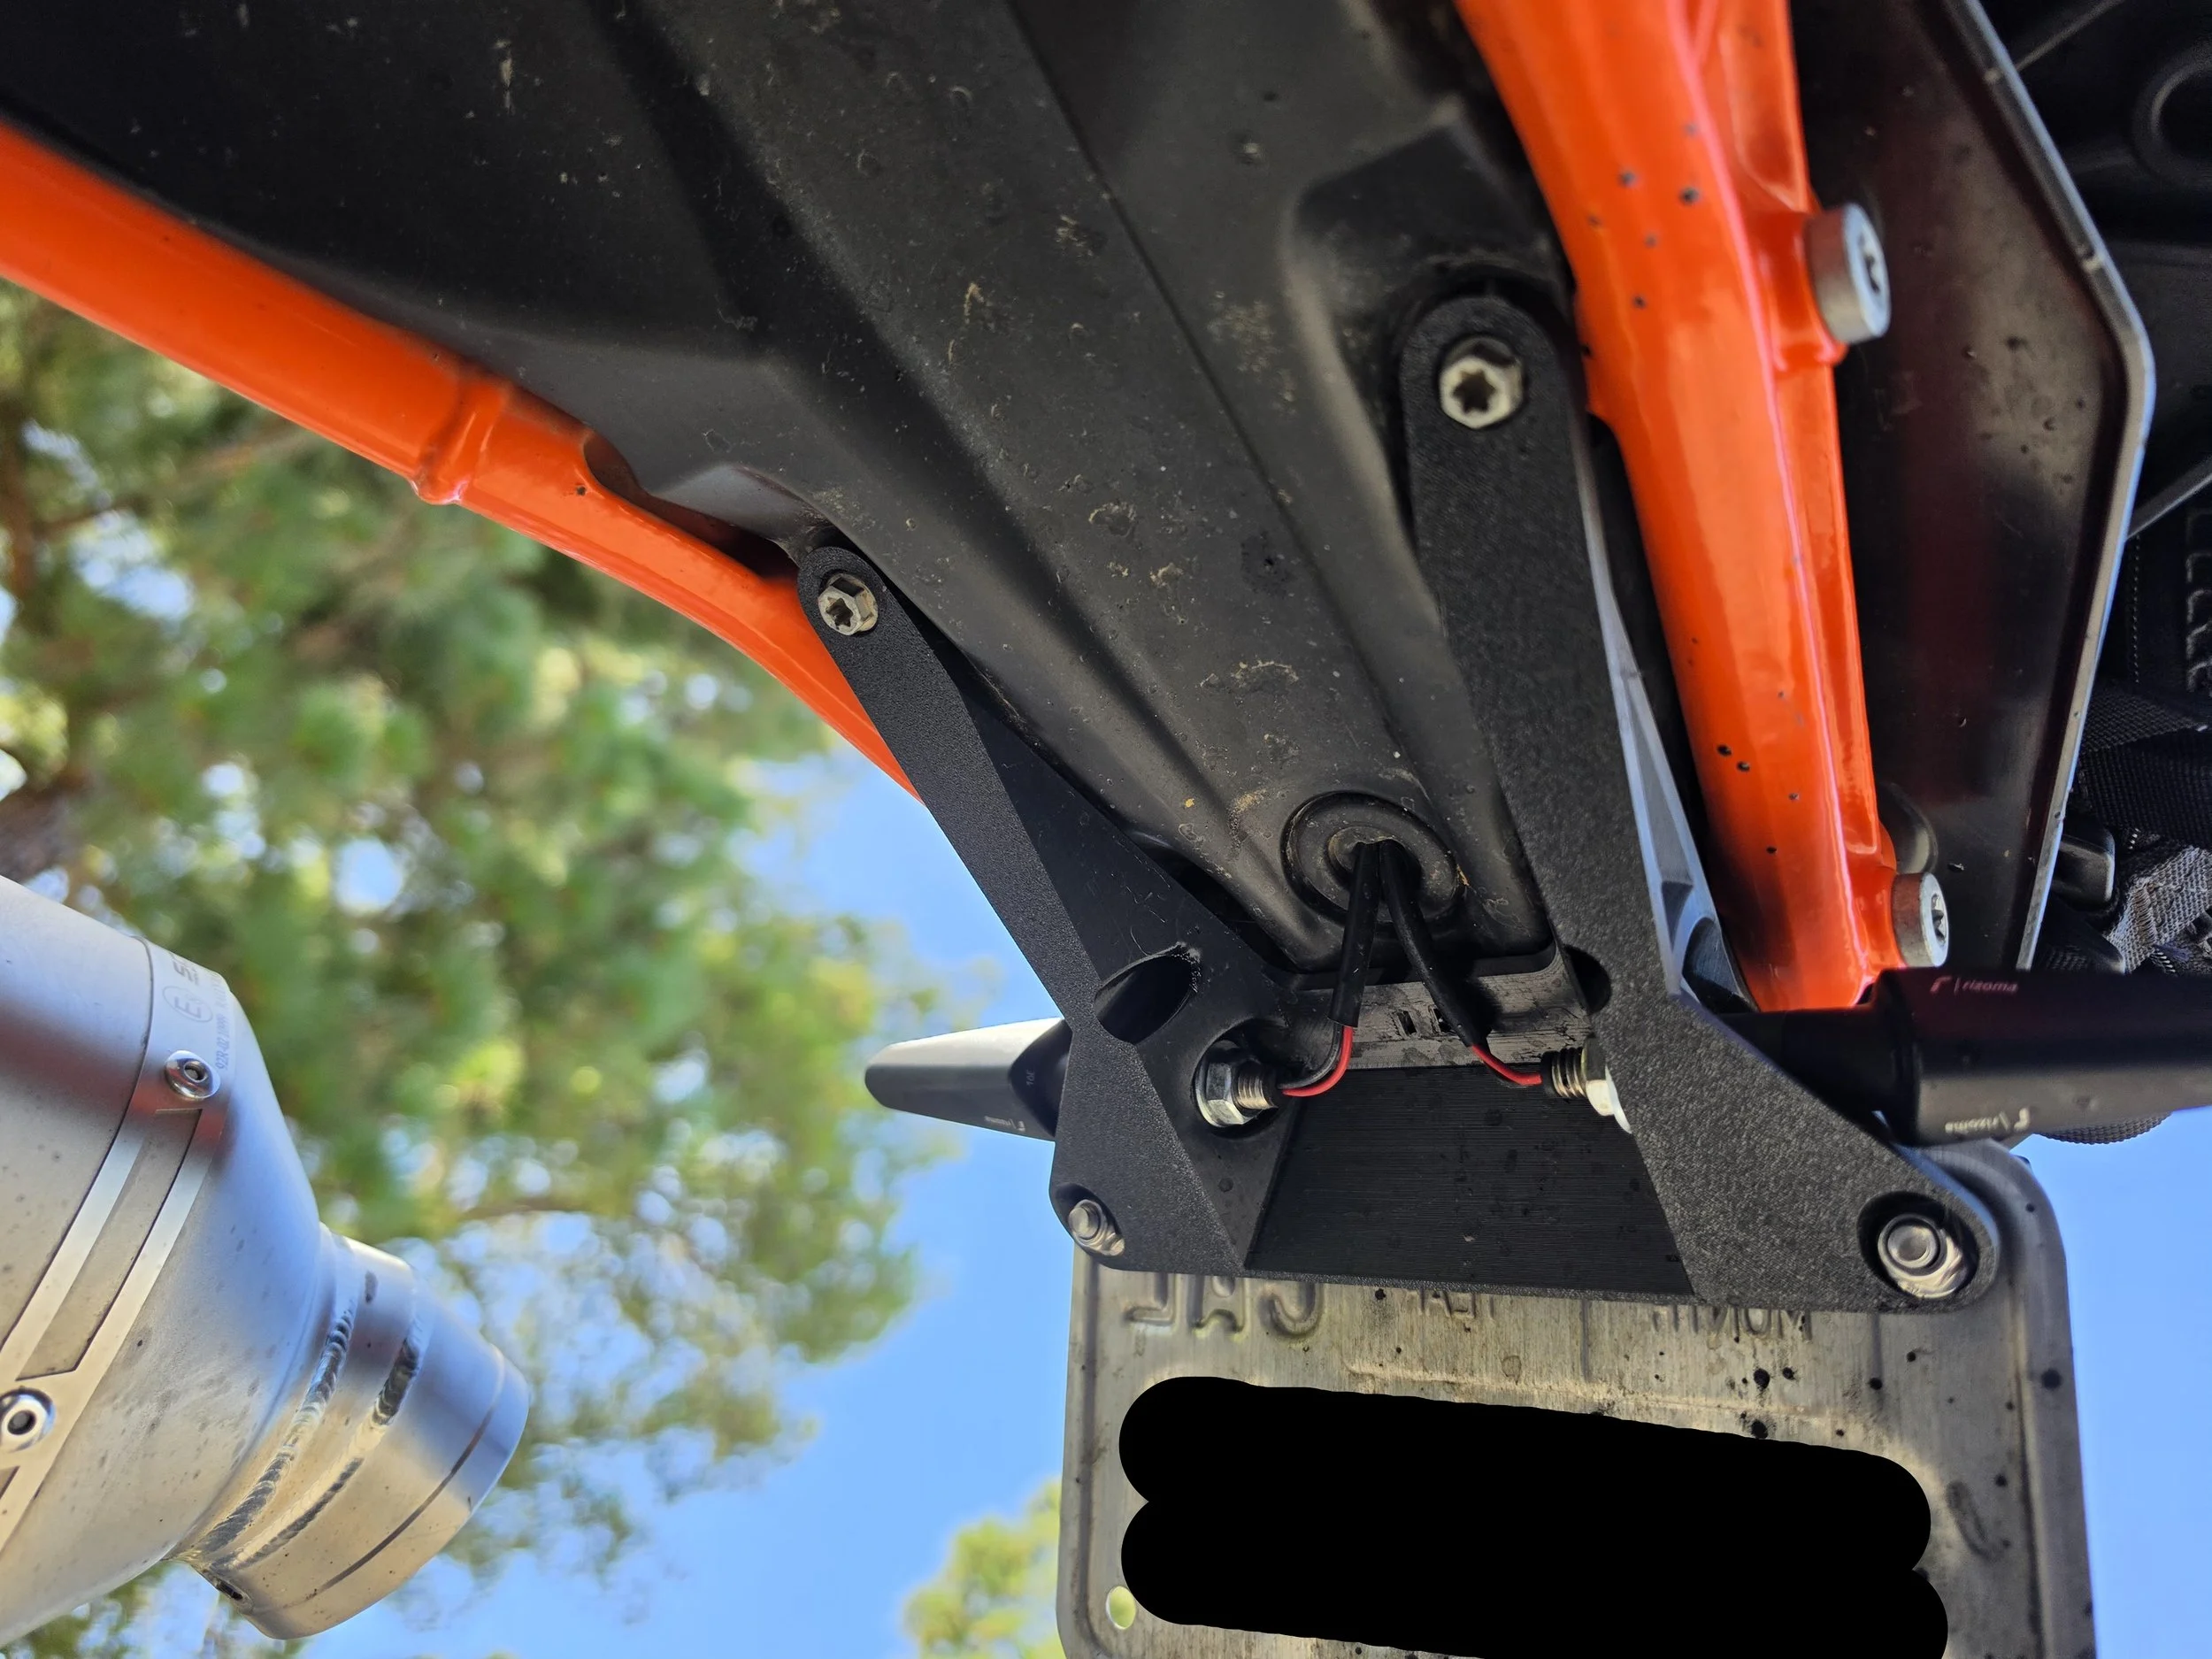
There are a lot of options out there when it comes tail tidy’s and turn signals, so whether you want something slim and tight or bigger with more visibility - the world is your oyster. There are a ton of great options out there including offroad specific ones built to flex and weather sealed if you need it.
For the front, I went with the Yoshimura turn signalsas they are bright, clean and durable (a few drops later and they are still perfect). I took the OEM connectors from the OEM set and soldered them to the new turn signals for a quick and clean install. There was one T25 torx screw to get the cover off and the wires I was able to fish out. In the event you are not able to fish out your connectors then opening the headlight assembly is required, but there are plenty of videos and guides online if this is the case for your bike.
On the rear of the bike, I wanted to keep it clean so I installed a set of Rizoma Fr-028 turn signals (discontinued*) that I already had and paired those with a tail tidy from Hoser Factory. I found it on Etsy and for a minimalist, functional approach it was exactly what I was looking for. The tail tidy is made of a durable TP material that has some flex to it so it won’t break if it get’s caught or hit. The detailed instructions made install a breeze. If you are looking for an affordable, clean and easy solution to clean up the rear end, I think that this one is worth a look.
Coming Soon:
Powercell Air intake
ASV C5 shorty levers
Excel wheels
Rally Tower
Auxiliary lighting
Soft Luggage
Build List:
KTM Power Parts Billet Triple Clamps
KTM Power Parts Handguards
KTM Power Parts Rally Seat
KTM Power Parts Rear sprocket
Twin Air Prefilter
DID ZVMX 520 Chain